Mexican Wedding Cookies, also known as Mexican Wedding Cakes, Polvorones or Russian Tea Cakes, are buttery and nutty cookies that are a staple during celebrations.

Table of Contents
History of Mexican Wedding Cookies
Originally hailing from Spain, these cookies a fascinating history and can also be found in the Philippines. Known as "polvorones", with the term "polvo" referring to powder or dust, referring to their texture. While these cookies and traditional shortbread share a similar buttery cookie, they are different. They add finely chopped nuts, with walnuts or almonds being the most common choices, to achieve their traditional flavor. So, if you've tried traditional Scottish shortbread before, you'll likely enjoy these melt-in-your-mouth cookies.
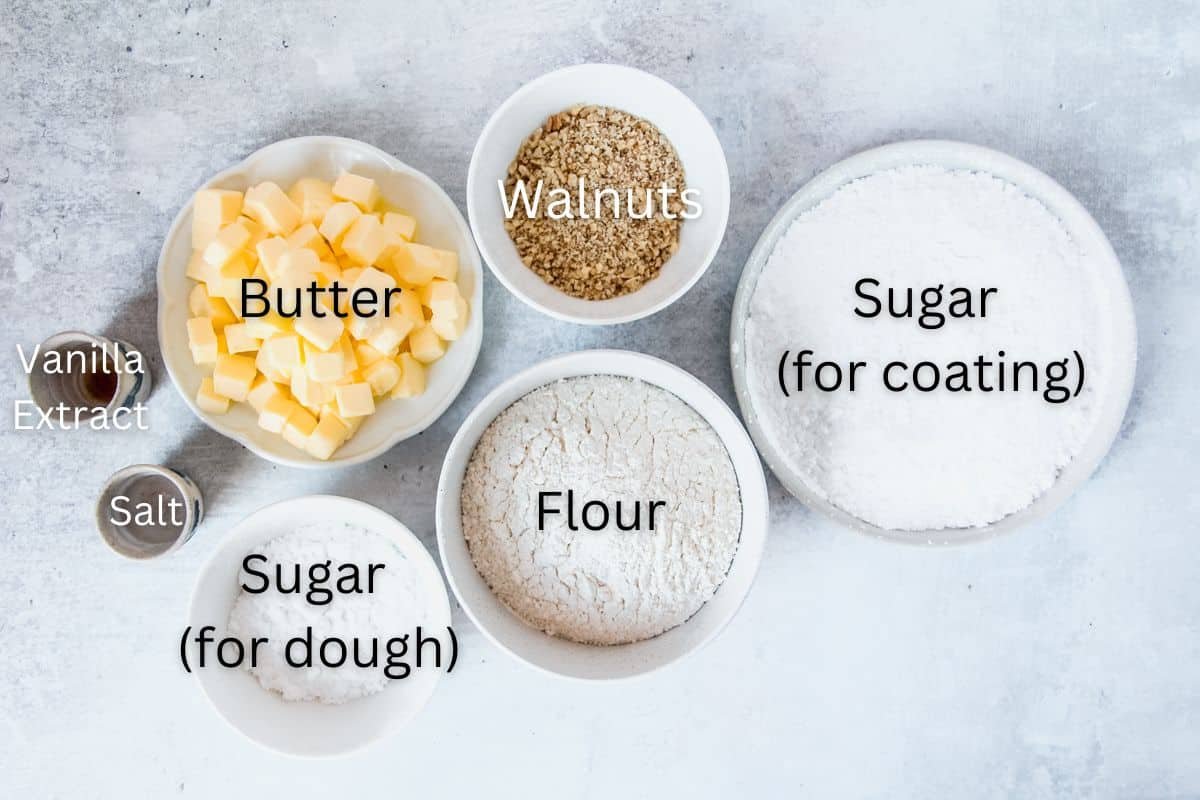
Ingredients and substitutions for Mexican Wedding Cookies
- Butter: Unsalted butter was used here to better control the salt in the cookies, though if you only have salted on hand that works too, though might want to add less salt to the dough.
- Sugar: Confectioner's or icing sugar is used for it's fine texture that helps give our cookies their melt-in-your-mouth texture. It cannot be substituted for the same results with any other sugar, particularly for the coating. If you do not have enough confectioner's or icing sugar on hand you could substitute with superfine or caster sugar in the cookie dough.
- Flour: Plain or all purpose flour works best here for a nice light crumb.
- Walnuts: A nice light nuttiness comes from walnuts. You can substitute with almonds which is a common ingredient. Another substitute in equal measure that would add a deeper flavor is pecans, though far less traditional.
- Salt & vanilla extract: The flavor powerhouses that give depth to our cookies.
See recipe card for quantities.
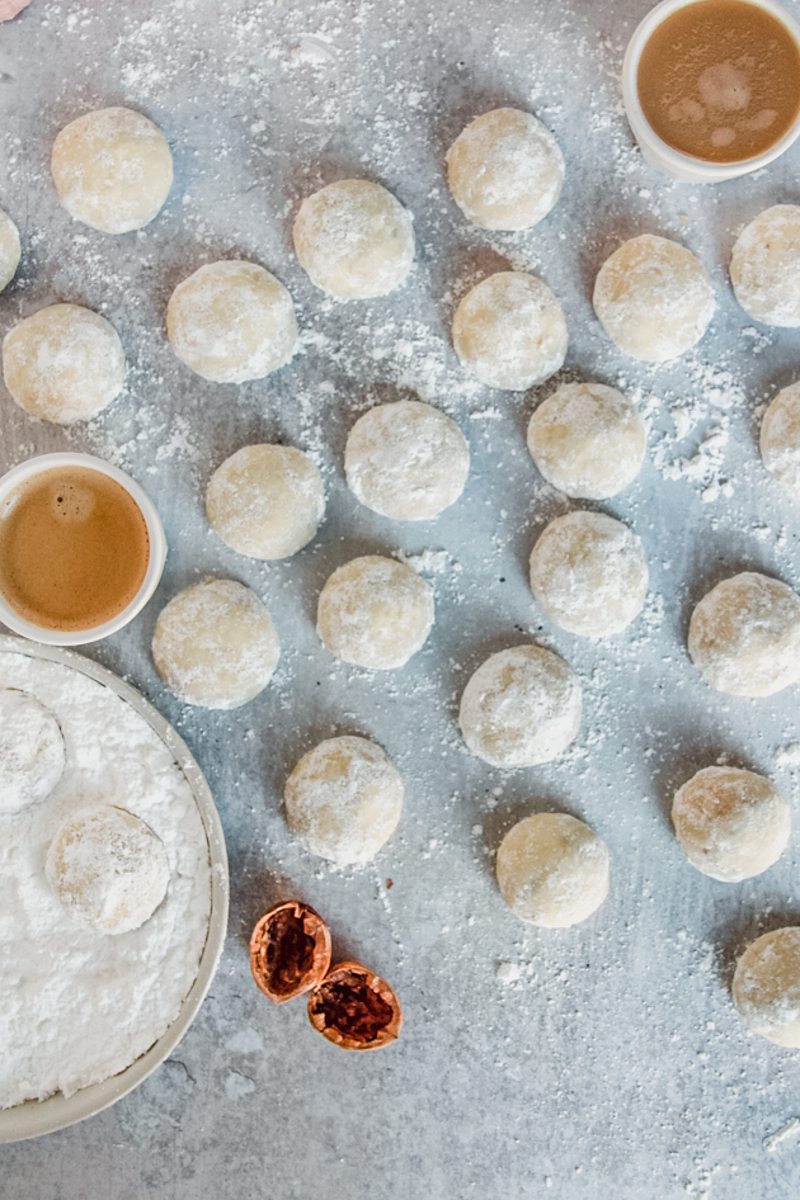
How to make Mexican Wedding Cookies:
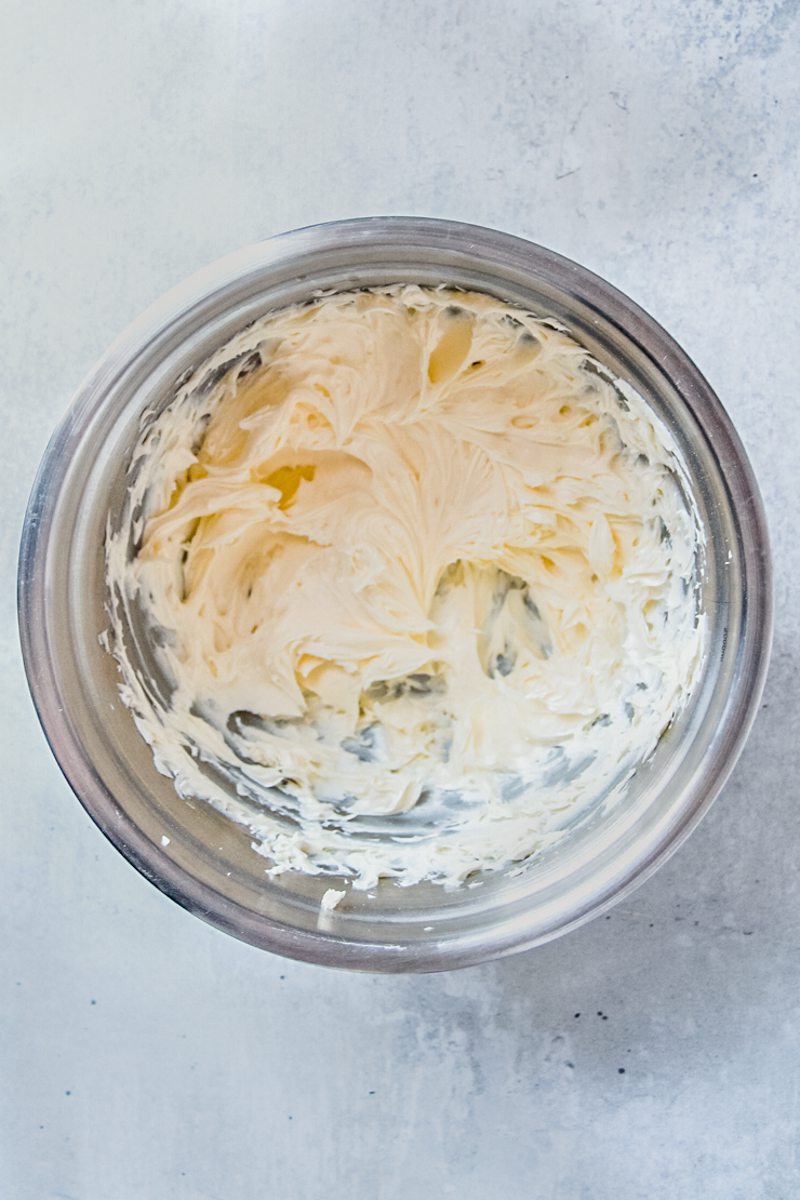
Step 1: Cream: The butter and sugar until light and fluffy.
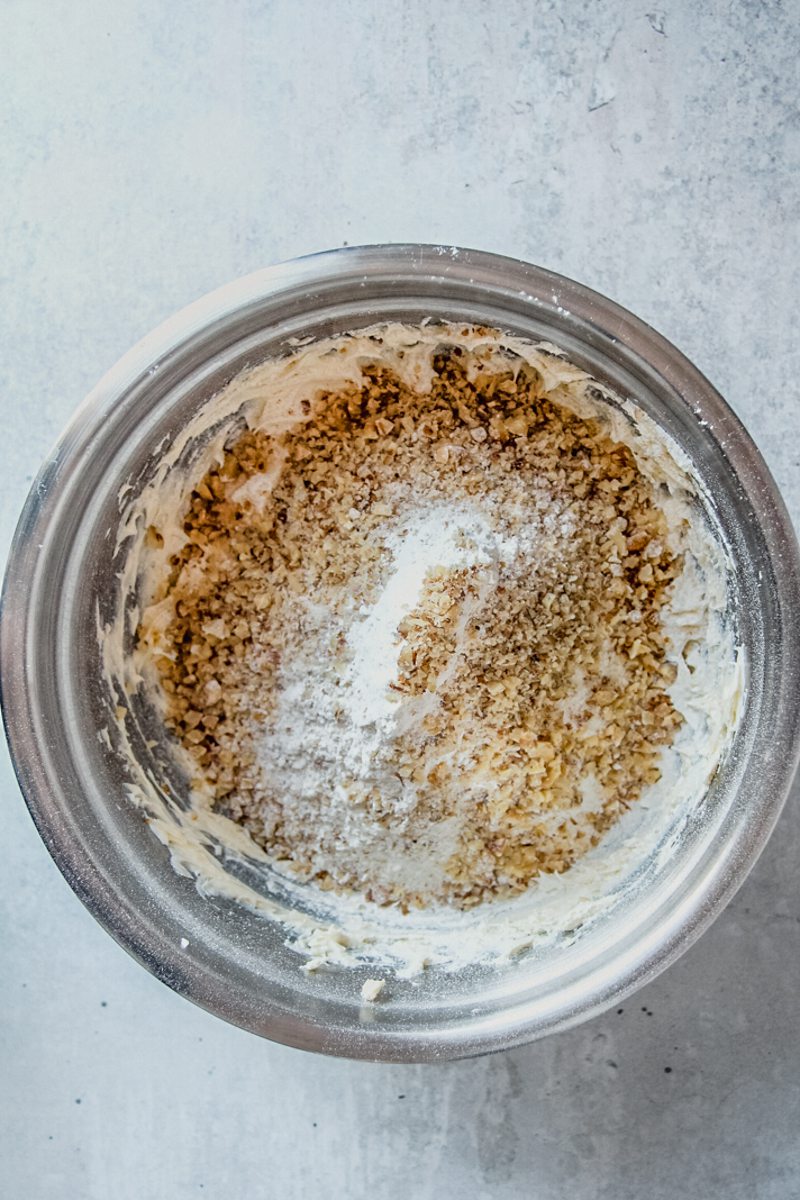
Step 2: Add the dry ingredients and walnuts: Sift in the flour, add the salt and finely chopped walnuts, combining until smooth.
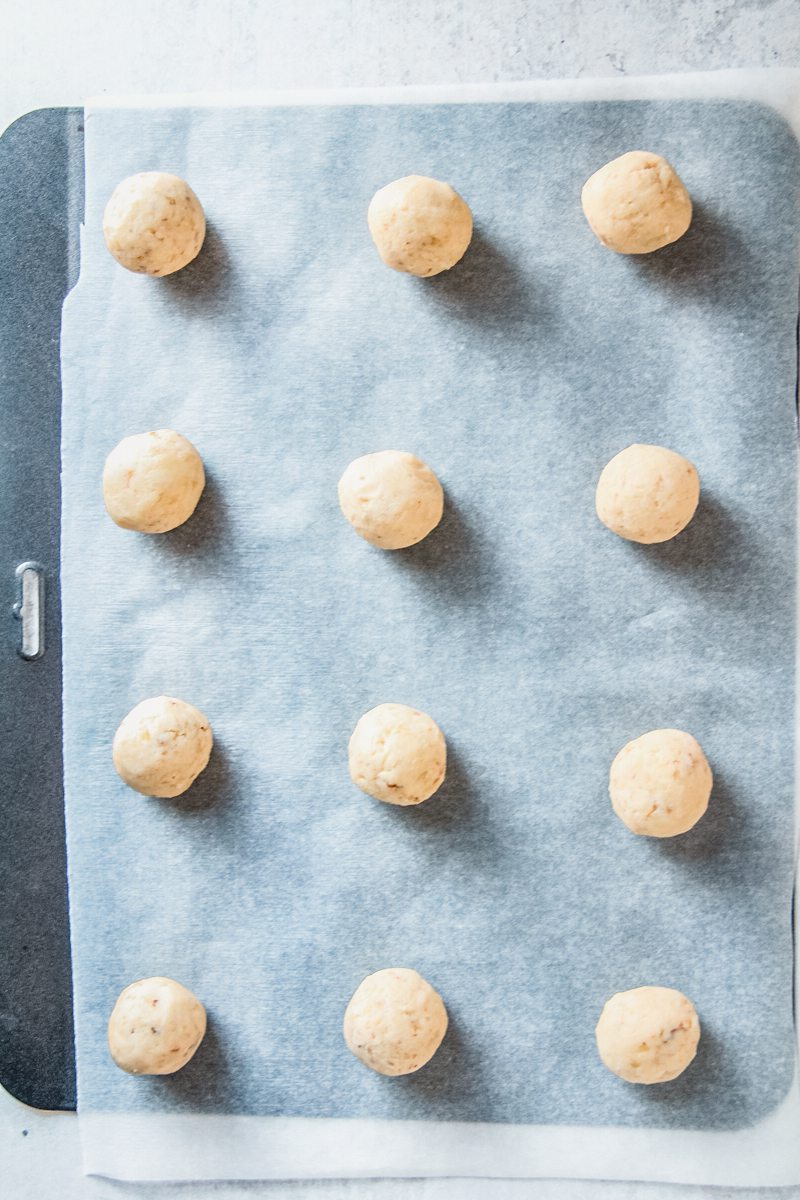
Step 3: Roll it up: Take a tablespoon amount and roll in your palm into a small ball.
Step 4: Bake: Until lightly golden on the edges.
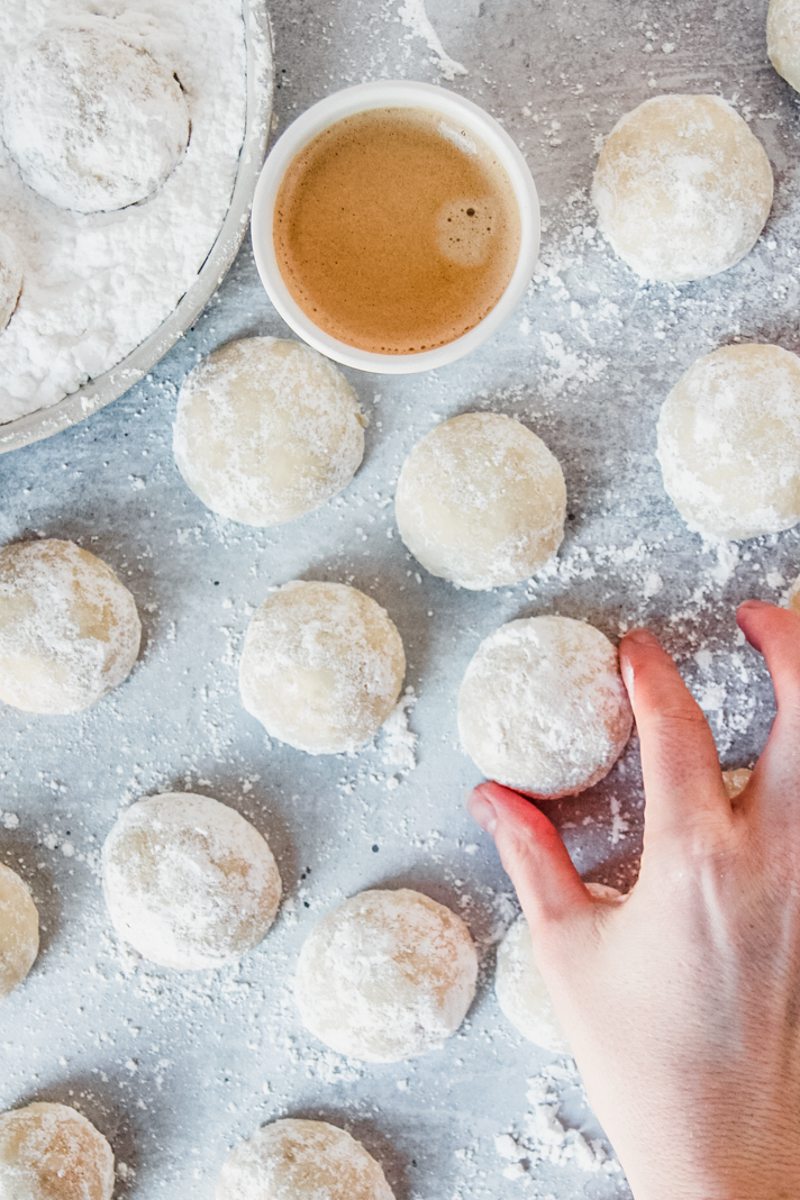
Step 5: Coat: Whilst still warm roll and coat each cookie in 3 separate layers of confectioner's sugar.
Step 6: Serve: Dig in alongside a hot beverage of your choice.
FAQs for the best Mexican Wedding Cookies
Absolutely! While this recipe calls for walnuts and/or almond, you can easily customize to suit your taste preferences. Feel free to experiment with different nuts such as almonds, walnuts, or even pistachios. You can also add a hint of citrus zest or a touch of cinnamon to enhance the flavors, making the cookies uniquely your own.
Yes! Simply allow them to cool completely and then store them in an airtight container or freezer bag. Make sure to separate the layers with parchment paper to prevent them from sticking together. Properly stored, these cookies can be frozen for up to three months. When ready to enjoy, simply thaw them at room temperature before serving. Freezing these cookies is a convenient option for advanced preparation or for gifting during the holiday season.
More eggless cookies you'll love

Mexican Wedding Cookies (Polvorones)
Ingredients
- 225 grams / 7.9 ounces butter softened
- 50 grams / ½ cup confectioner’s/icing sugar
- ½ teaspoon vanilla extract
- 267 grams / 1 ⅔ cups plain flour
- ½ teaspoon sea salt
- 50 grams / ½ cup walnuts finely chopped
- 170 grams / 1 ½ cups confectioner’s/icing sugar
Instructions
- Line a baking tray with greaseproof paper and preheat the oven to 200°C/400F.
- Place the softened butter, sugar and vanilla extract in a bowl and beat on medium until light and fluffy, approximately 1 minute with a hand beater.
- Sift in the flour, add the salt and walnuts to the mixture.
- Mix until combined, no dry portions remain in the bowl and the dough is smooth.
- Place in the refrigerator for 5 minutes to lightly chill.
- Remove and take a tablespoon amount, placing into your hand and rolling into a smooth ball, approximately 1 ½ inches in size. If the mixture sticks, return to the refrigerator for a further 5 minutes.
- Place the rolled cookie onto the prepared baking tray and place onto your baking sheet. Repeat with the remaining dough.
- Place in the oven and bake for approximately 10 minutes or slightly brown on the edges.
- Remove and allow to cool on the tray for a few minutes before transferring to the cooling tray.
- For the sugar coating, sift the confectioner’s sugar into a shallow dish and roll each cookie in the confectioner’s sugar carefully while still warm (the buttery sugar will stick to your fingers so it's easiest to place the cookie on the flat side down and rolling the top last, carefully picking up from the base).
- Return the cookie to the cooling rack and repeat the confectioner’s sugar process twice more while allowing each to cool to room temperature.
- Serve and enjoy.
Video
Notes
- Sugar: Confectioner's or icing sugar is used for it's fine texture that helps give our cookies their melt-in-your-mouth texture. It cannot be substituted for the same results with any other sugar, particularly for the coating.
- The size of your cookies: These are very buttery and melt in your mouth and are best if they are no larger than 2 inches in size to make them easier to coat but also to consume.
- Size of the scoop used here: The size of the scoop used here is 4cm or 1.57 inches to create the perfect small scoop. If you don't have one this size a great substitute would be a tablespoon which would create a similar sized cookie.
- Coating in the sugar: The sugar will stick to the cookies and get coated better if you toss them whilst still warm, the cooler they get the more the sugar will fall away.
- Customizing your cookies: Feel free to experiment with different nuts such as almonds, walnuts, or even pistachios. You can also add a hint of citrus zest or a touch of cinnamon to enhance the flavors, making the cookies uniquely your own.
- Freezing the cookies: Simply allow them to cool completely and then store them in an airtight container or freezer bag. Make sure to separate the layers with parchment paper to prevent them from sticking together. Properly stored, these cookies can be frozen for up to three months.
Nutrition
Subscribe to receive a free weekly newsletter using seasonal produce as well as exclusive content!
Made it and loved it?
If you have made this recipe, it would mean so much to leave a review below to help more people find this.



Leave a Reply