Thumbprint cookies are seen as kind of fancy, but don't require much effort and a batch of these Chocolate Mint Thumbprint Cookies have a peppermint icing that couldn't be easier to whip up!

A batch of these were made between travels with my father recently where I've been the teacher and he has been the student of sorts, there are many things that become secondhand when you've been through many cities at different times on your own.

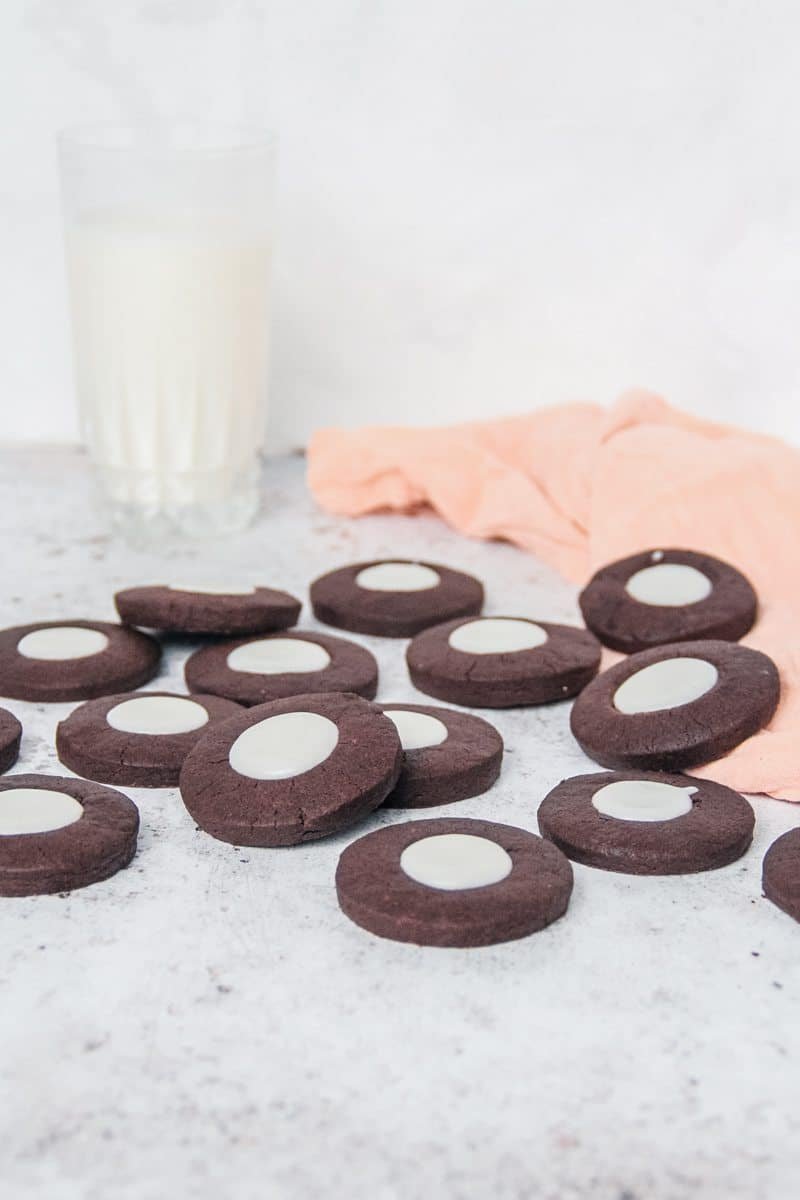
You need very little create the buttery dough, no eggs or unusual ingredients are needed here and they minimal chill time. They're even great to bake with kids, allowing them to spoon that peppermint icing into the center of the cookies.
Why you'll love these
Shortbread and chocolate
Buttery chocolate shortbread makes these a melt-in-your-mouth treat.
Peppermint thumbprint filling
The minty filling compliments the chocolate shortbread beautifully.
Ingredients and substitutions for Chocolate Mint Thumbprint Cookies
- Butter: Room temperature unsalted butter was used here, though salted butter would also work if that’s what you have on hand. Room temperature is best as this combines with the sugar and helps give your cookies that melt-in-your-mouth texture.
- Sugar: The best sugar here is icing or confectioner’s sugar which dissolves into the butter and due to it’s incredibly fine texture this is the second key to that melt-in-your-mouth result with these cookies. It is not recommended to substitute with another other sugar completely as the texture in the cookies would change.
- Plain flour: Plain or all purpose works best here for a nice shortbread base, however, you could use bread flour in equal measure here if that’s all you have on hand.
- Cocoa powder: High quality plain cocoa powder is used here to really give that chocolate flavor intensity.
- Corn starch: Sometimes termed cornflour in certain parts of the globe. Corn starch is what gives our cookies a nice crunch.
- Peppermint extract: A nice strong peppermint extract was used here, though you could add in a tiny amount of green natural food coloring, to give it a more minty color.
- Milk: The tiniest little bit of milk gives our peppermint icing filling enough moisture to drip into the thumbprint of our cookies whilst also allowing it to set once it's in place.
See recipe card for quantities.
Equipment needed to make this
Greaseproof paper: Lining your tray will make sliding off your baked cookies a breeze!
Hand or stand mixer: To create that dough, though this can be done by hand with a little elbow grease.
Rolling pin: A rolling pin will help you achieve a nice consistent dough, however, you could substitute a wine bottle for similar results.
Honey drizzle: So this isn’t necessary, but if you’re a stickler for having a consistent ‘thumbprint’ a honey drizzle lightly coated in flour will give you that shape. Alternatively, you’ll want to ensure your nails are short if using a thumb to leave a nice indent.
Mixing bowl: A medium mixing bowl works perfectly for the cookie dough and that peppermint filling.
FAQ's for the best Chocolate Mint Thumbprint Cookies
How do I create a consistent thumbprint shape in cookies?
If you have a honey drizzle, simply flour the tip of the drizzle and tap to remove the excess and press into the center of your cookie , turning gently to really indent your cookie before you remove your cookie cutter so your cookie remains nice and uniform in shape.
Is it necessary to chill butter cookie dough?
The chill time, despite how short it is, allows the butter dough to firm up resulting in cookies that will spread less and also ensuring a more even bake.
More chocolate cookies you'll love
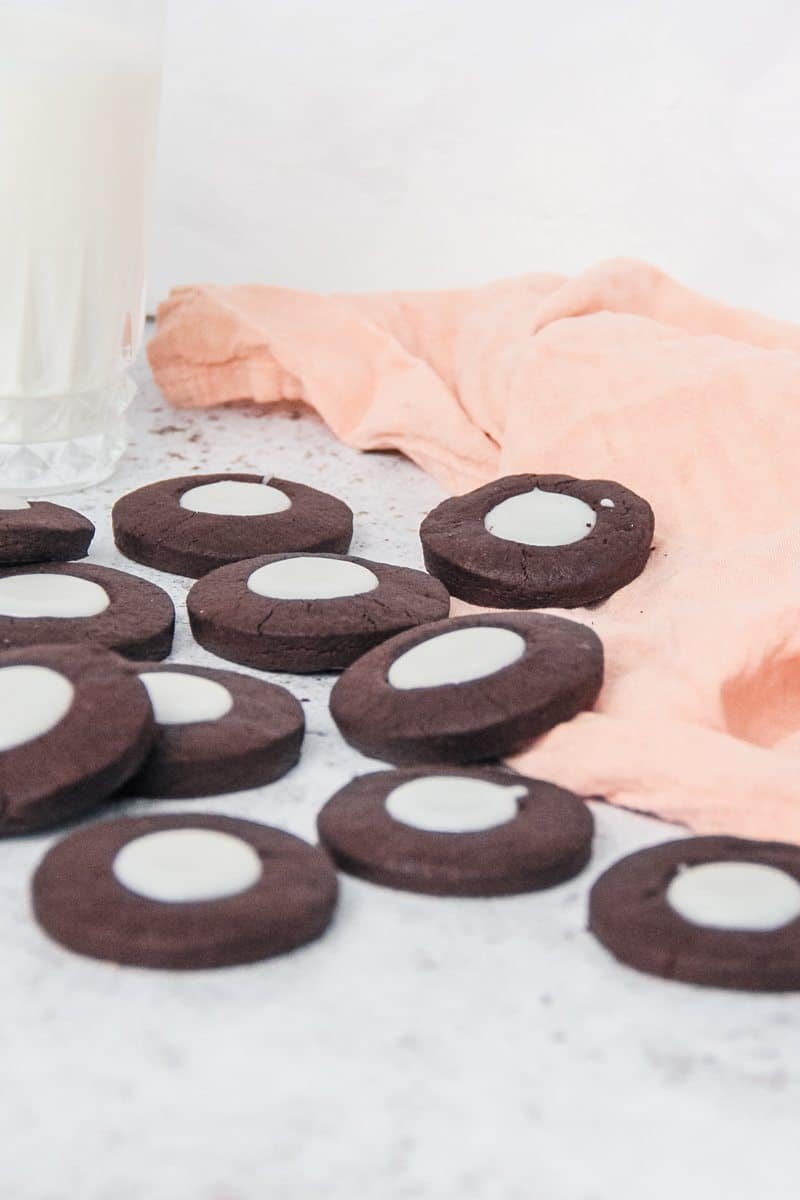
How to make Chocolate Mint Thumbprint Cookies:
Preheat the oven to 180ºC/350F and line a baking tray with greaseproof paper.
Beat the butter on medium speed until light and fluffy, approximately 3 minutes.

Add in the sugar, cornflour, cocoa powder and flour and beat on low until well combined and no dry portions remain in the bowl.

Measure out 2 equal portions of greaseproof paper and invert the crumbly dough onto one portion of the dough.
Press the second piece of greaseproof paper over the top and press down, rolling out the dough to ⅓ inch thick.
Pull away the top piece of the paper and lightly flour the top of the dough to smooth it out.
Press a round cookie cutter into the edge of your dough and either press firmly into the center with your lightly floured thumb or a lightly floured honey drizzle.
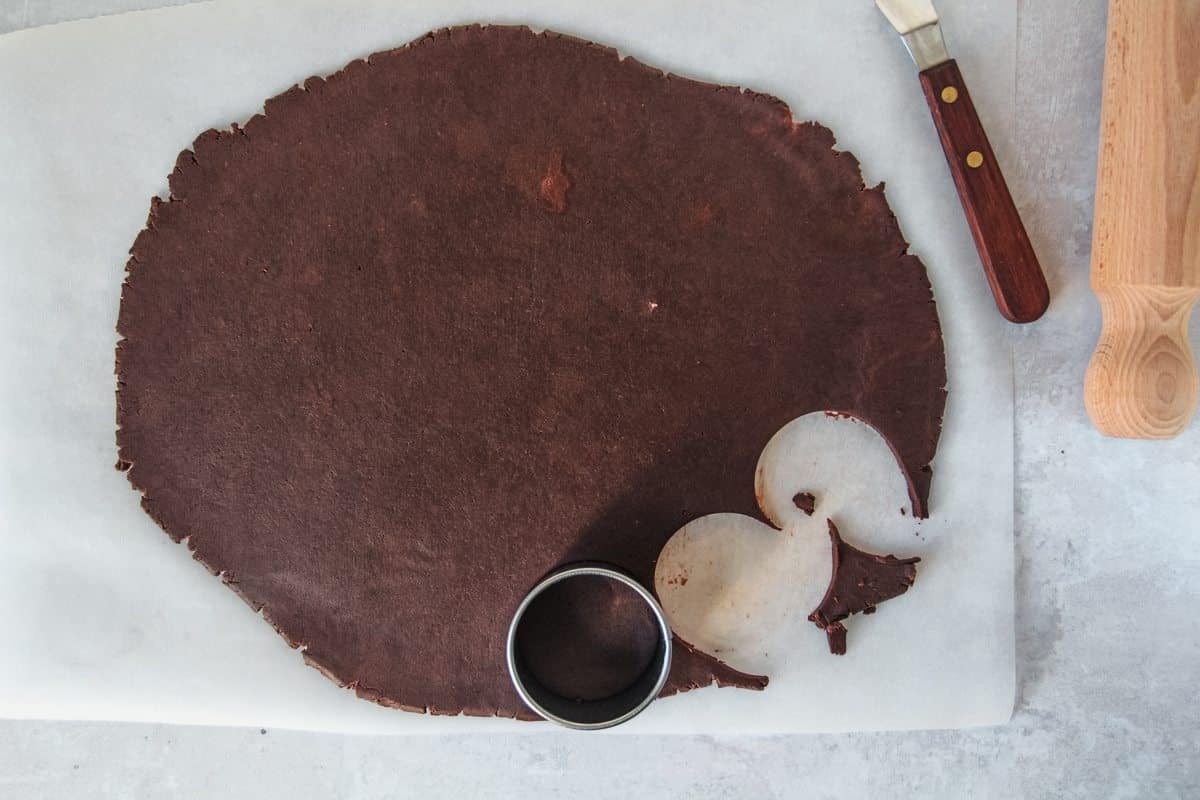
Lightly slide a thin offset spatula underneath your cookie and lift up, lightly pressing the top of your edges to loosen away from the cookie cutter.
Set your cookie aside on your top layer of greaseproof paper and set on a tray.
Repeat with the remaining dough.
Set the cookies in the fridge for 15 minutes.
Place your cookies onto a baking tray with 2 inches gap between each.
Bake in the oven for 14 minutes then remove and place on a cooling tray.
Place the confectioner’s sugar, peppermint extract and milk in a bowl and combine until smooth.

Spoon into the centers of your cookies and set aside for the icing to set completely.
Grab one or two and enjoy alongside your favorite hot beverage.


Chocolate Mint Thumbprint Cookies
- Prep Time: 30 minutes
- Cook Time: 14 minutes per cookie tray
- Total Time: 21 minute
- Yield: Makes 22 cookies
- Category: Cookies
Description
Chocolate shortbread dough is filled with a minty icing filling for a great twist on the classic thumbprint cookie.
Ingredients
Chocolate shortbread
150 grams / 5.3 ounces butter, softened
35 grams / ⅓ cup confectioner’s/icing sugar, sifted
25 grams / ¼ cup cornflour, sifted
56 grams / ½ cup cocoa powder, sifted
150 grams / 1 cup - 1 tablespoon plain flour
Peppermint filling
50 grams / ½ cup confectioner’s/icing sugar, sifted
2 teaspoons peppermint extract
1 tablespoon milk
Instructions
- Preheat the oven to 180ºC/350F and line a baking tray with greaseproof paper.
- Beat the butter on medium speed until light and fluffy, approximately 3 minutes.
- Add in the sugar, cornflour, cocoa powder and flour and beat on low until well combined and no dry portions remain in the bowl.
- Measure out 2 equal portions of greaseproof paper and invert the crumbly dough onto one portion of the dough.
- Press the second piece of greaseproof paper over the top and press down, rolling out the dough to ⅓ inch thick.
- Pull away the top piece of the paper and lightly flour the top of the dough to smooth it out.
- Press a round cookie cutter into the edge of your dough and either press firmly into the center with your lightly floured thumb or a lightly floured honey drizzle.
- Lightly slide a thin offset spatula underneath your cookie and lift up, lightly pressing the top of your edges to loosen away from the cookie cutter.
- Set your cookie aside on your top layer of greaseproof paper and set on a tray.
- Repeat with the remaining dough.
- Set the cookies in the fridge for 15 minutes.
- Place your cookies onto a baking tray with 2 inches gap between each.
- Bake in the oven for 14 minutes then remove and place on a cooling tray.
- Place the confectioner’s sugar, peppermint extract and milk in a bowl and combine until smooth.
- Spoon into the centers of your cookies and set aside for the icing to set completely.
- Grab one or two and enjoy alongside your favorite hot beverage.
Notes
Consistent thumbprint shape: If you have a honey drizzle, simply flour the tip of the drizzle and tap to remove the excess and press into the center of your cookie , turning gently to really indent your cookie before you remove your cookie cutter so your cookie remains nice and uniform in shape.
Chilling the dough after rolling it out: The chill time, despite how short it is, allows the butter dough to firm up resulting in cookies that will spread less and also ensuring a more even bake.
Recipe by Roamingtaste
Nutrition
- Calories: 100 calories per cookie




Leave a Reply