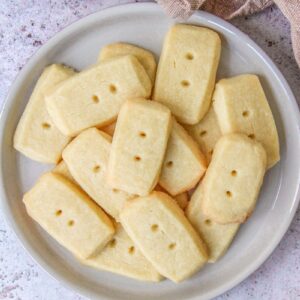
This classic Shortbread recipe delivers everything you love about traditional Scottish shortbread: buttery, delicate, and perfectly crumbly. Made with just butter, sugar, flour and salt, this timeless cookie melts in your mouth with every bite.
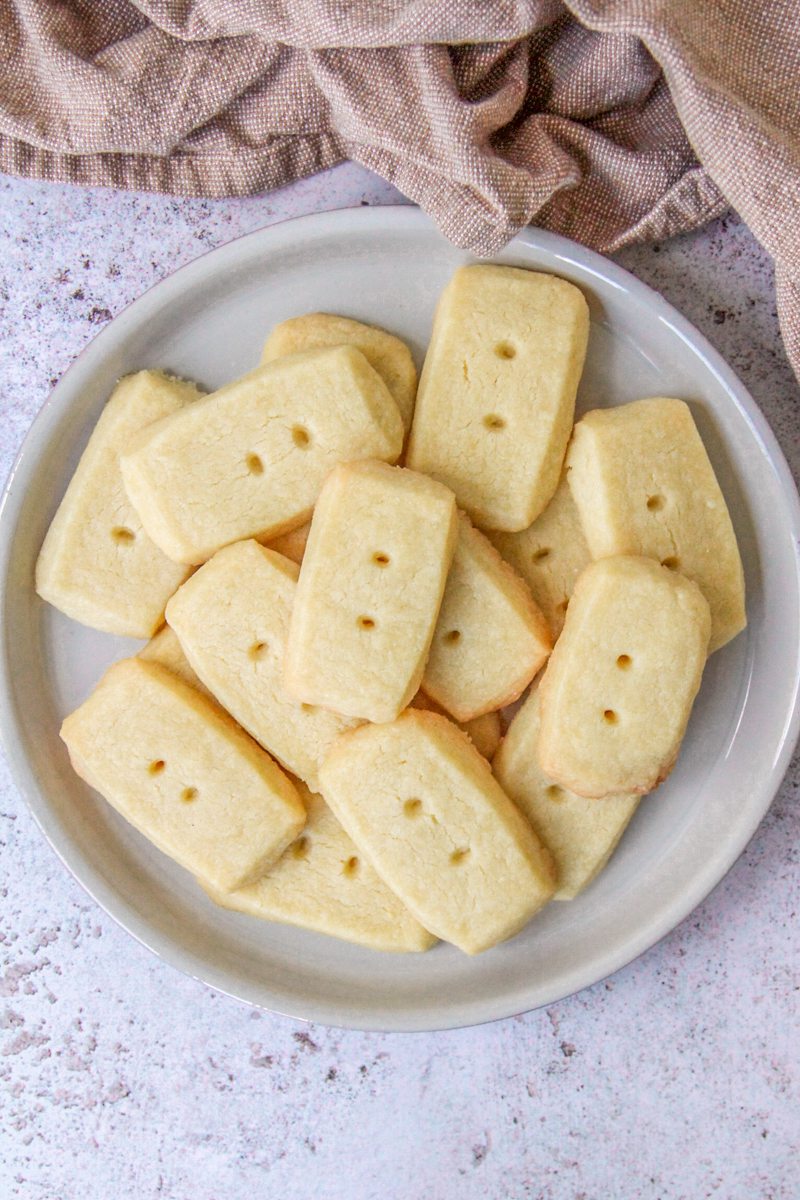
Table of Contents
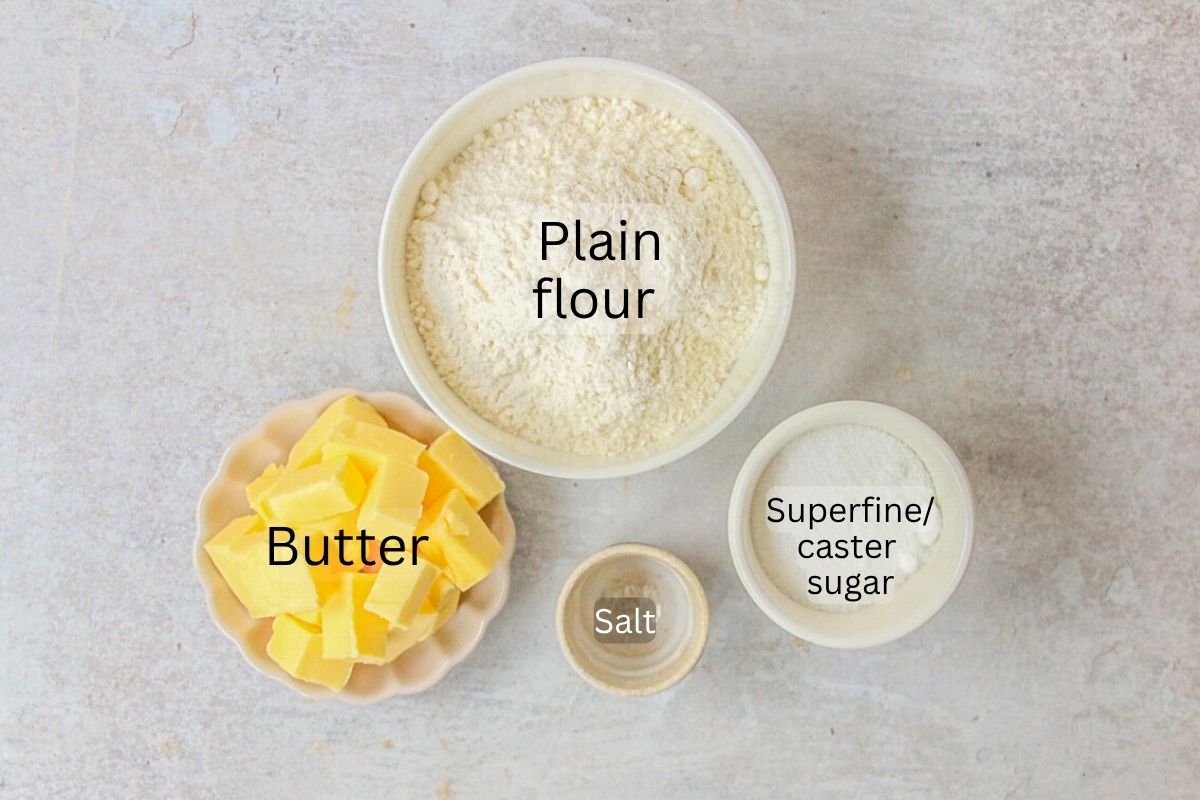
Ingredients and substitutions for Shortbread
- Butter: Use high-quality European-style butter for the richest flavor and perfect shortbread texture. Unsalted softened butter is used, but salted also works as a fine substitute. Simply leave out any salt suggested in the recipe.
- Sugar: Superfine or caster sugar helps sweeten the biscuits and give their signature texture without adding additional flavors. You could do a version with 50/50 white and brown sugars for a slightly different flavor, however, the moisture in the brown sugar might create a less signature texture.
- Flour: Plain or all purpose flour is best for the perfect texture. In a test, a mixture of 2:1 flour and cornstarch was used and though this creates a beautiful texture, the plain flour shortbread won out with taste testers (my husband’s coworkers).
- Salt: Salt adds dimension in flavor, though you can choose to omit as it’s only marginally improved with salt. Sea salt is best, but rock salt also works well.
See recipe card for quantities.
How to make Shortbread:
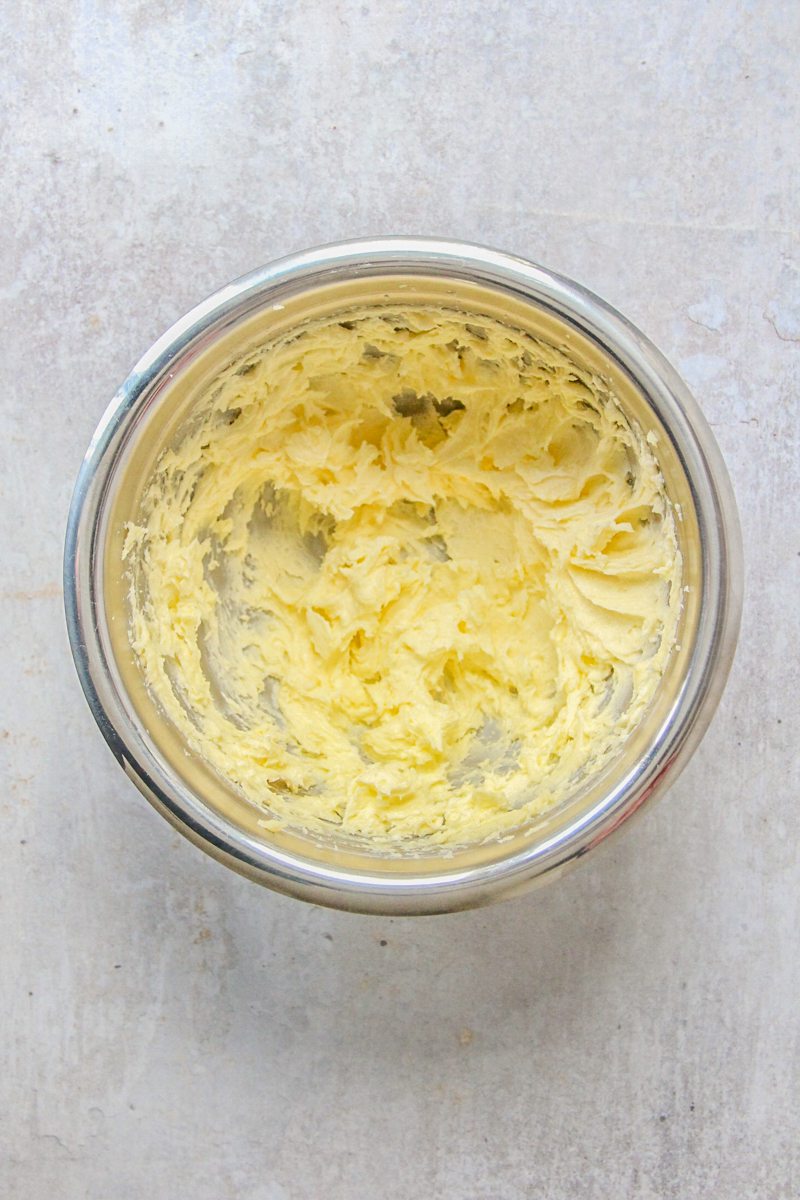
Step 1: Butter base: Beat the butter and sugar until pale and fluffy.
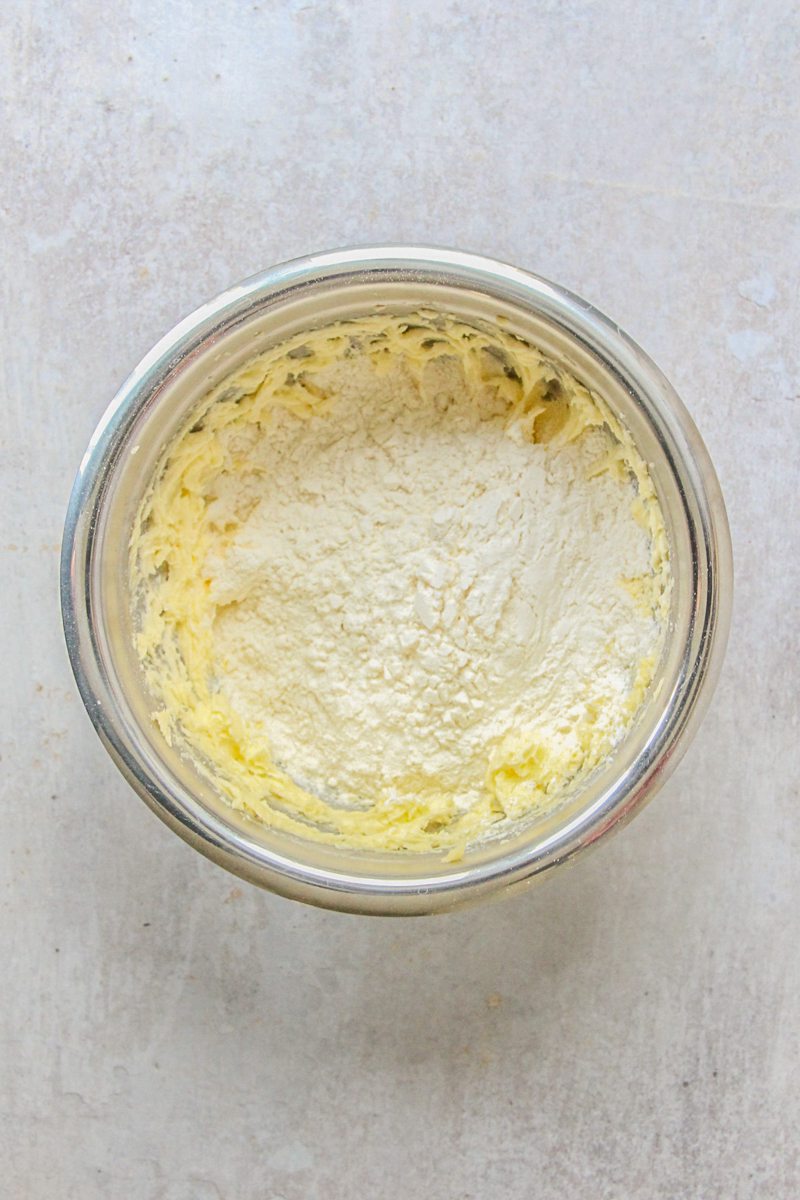
Step 2: Dry: Add the flour and combine.
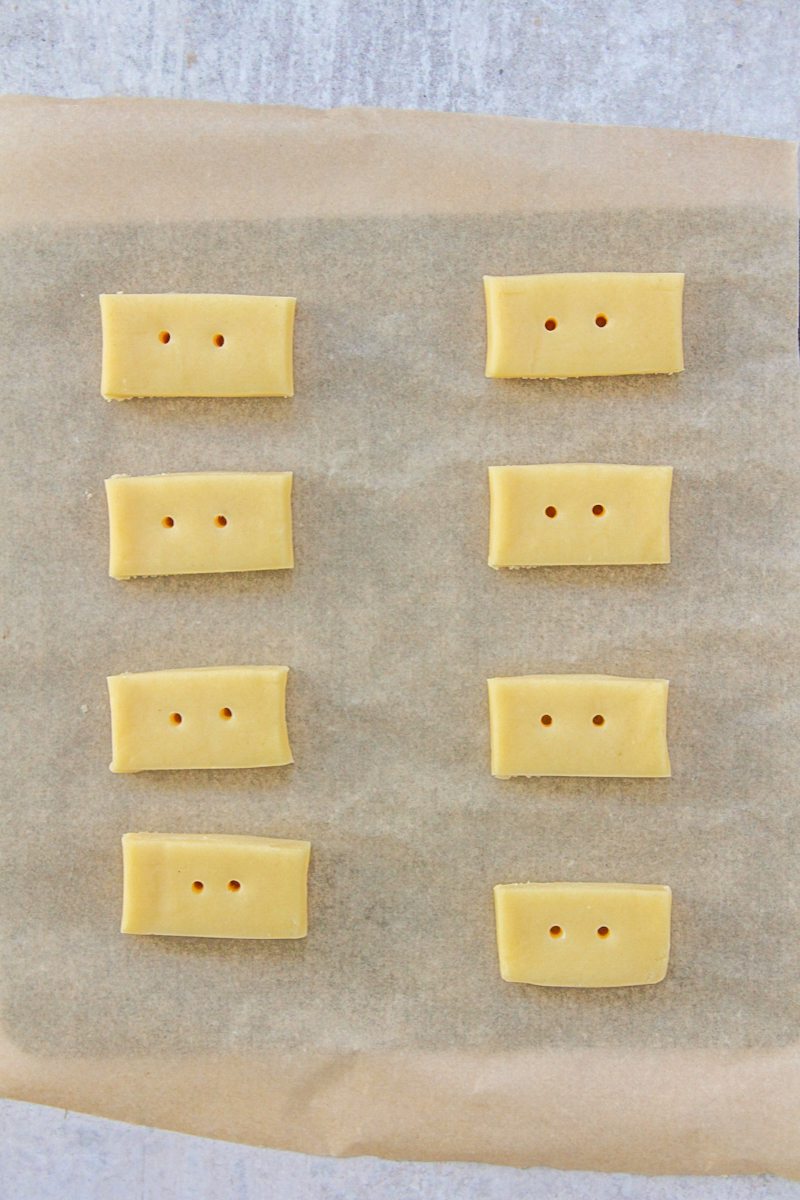
Step 3: Shape: Roll out between two sheets into a long rectangle and cut into 1 inch wide and 2 inch long shortbreads.
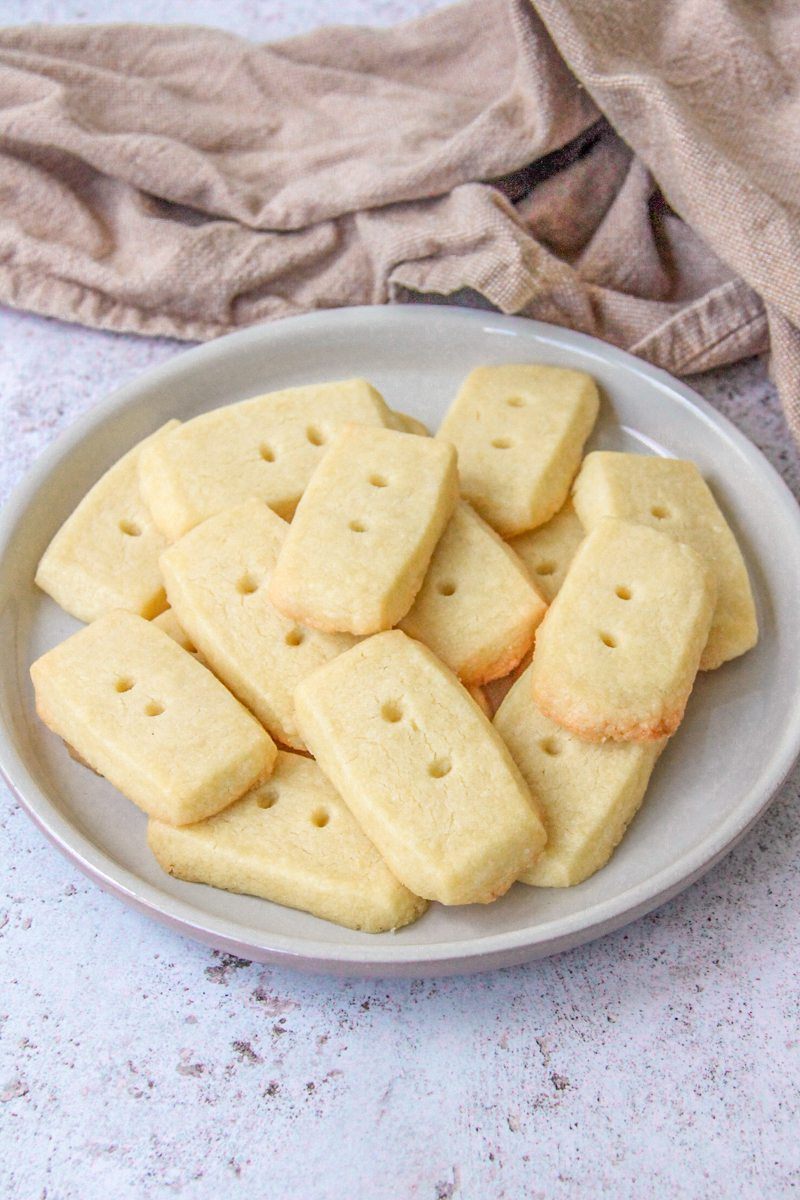
Step 4: Bake: Place on a tray and bake until lightly golden at the edges.
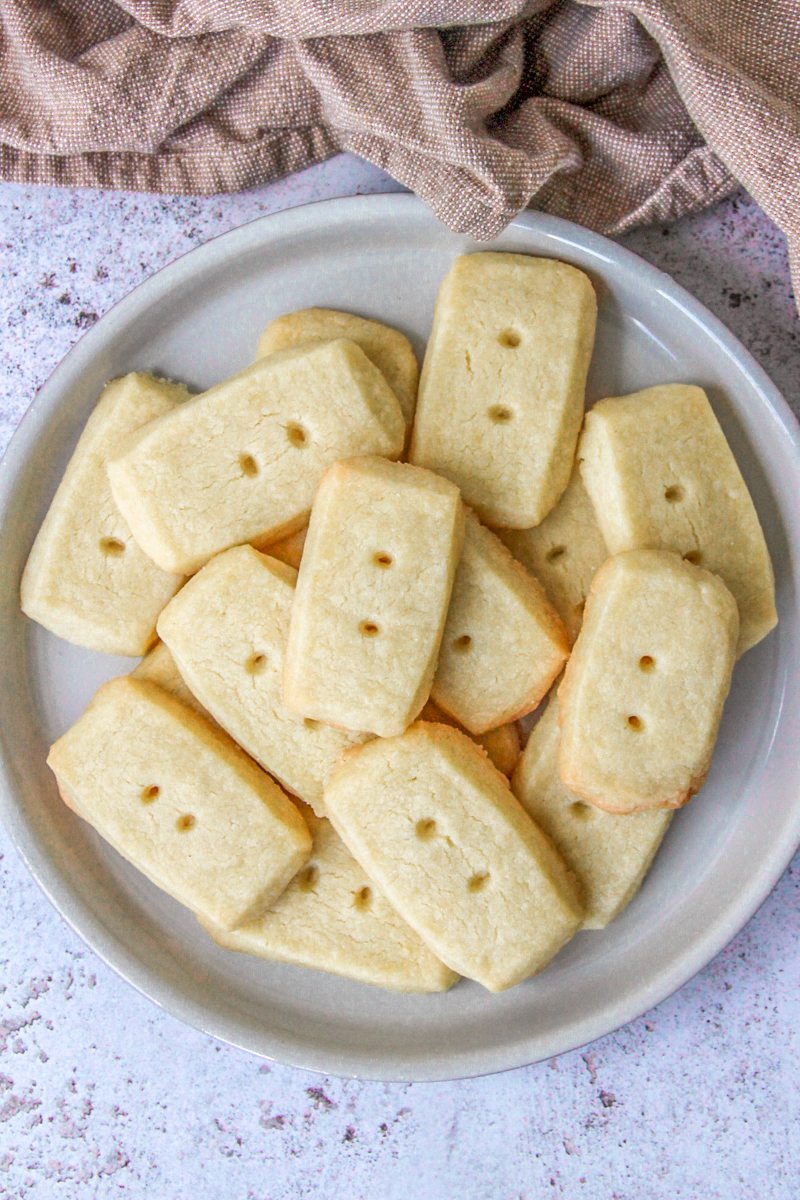
Step 5: Cool and serve: Allow to cool fully and serve ideally the day after baked, with or without your favorite hot drink.
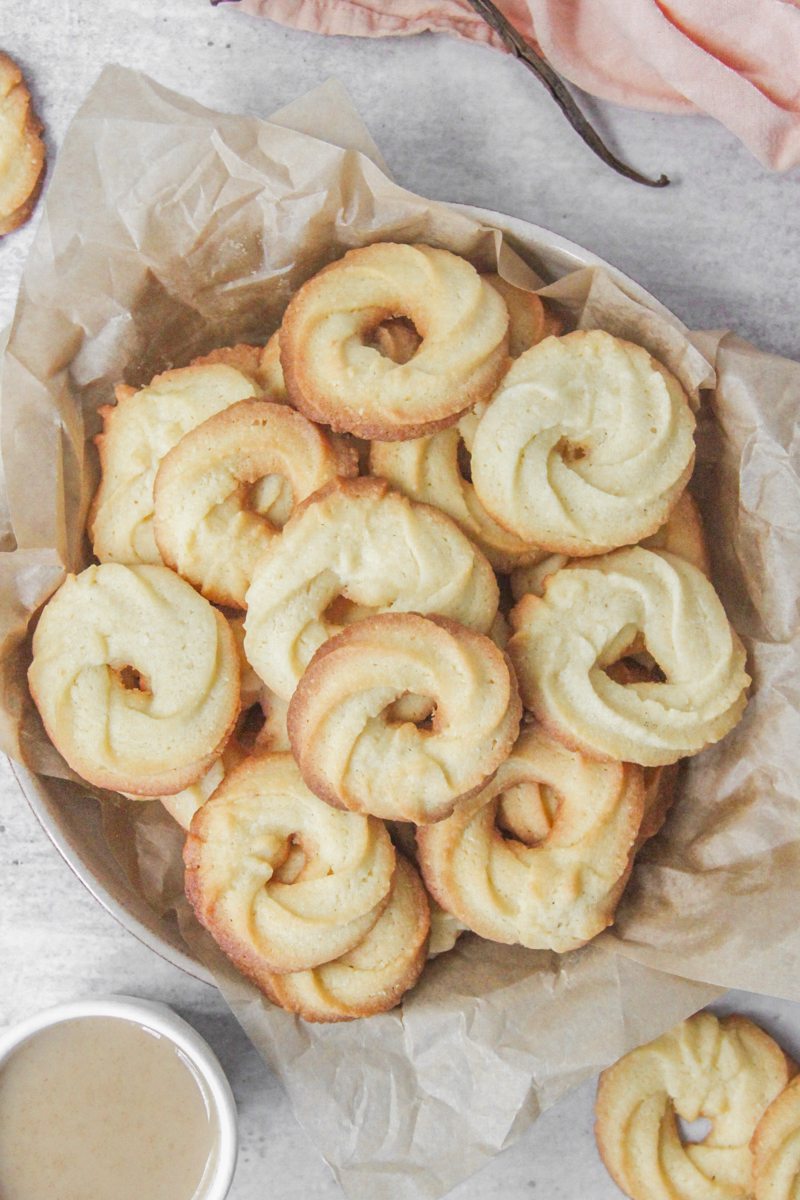
More butter cookies you'll love


Shortbread
Ingredients
- 100 grams / 3.5 ounces butter room temperature
- 50 grams / ¼ cup superfine/caster sugar
- 130 grams / ¾ cup + 1 tablespoon plain flour
- ¼ teaspoon sea salt
Instructions
- Preheat the oven to 160C/320F and line a baking tray with parchment paper.
- Toss the butter and sugar into a bowl and whip on low speed until pale and fluffy, approximately 4 minutes.
- Shape into a rectangle 16 inches wide by 2 inches long and measure out 1 inch shortbreads.
- Place onto the baking tray with 1 inch between and bake until lightly golden on the edges, approximately 12 minutes.
- Remove from the heat and allow to rest for 2 minutes on the tray.
- Transfer to a cooling rack and allow to cool completely, ideally serving at least 24 hours post baking.
- Serve alongside your favorite hot drink.
- Enjoy!
Notes
- Butter: Use high-quality European-style butter for the richest flavor and perfect shortbread texture. Unsalted softened butter is used, but salted also works as a fine substitute. Simply leave out any salt suggested in the recipe.
- Sugar: Superfine or caster sugar helps sweeten the biscuits and give their signature texture without adding additional flavors. You could do a version with 50/50 white and brown sugars for a slightly different flavor, however, the moisture in the brown sugar might create a less signature texture.
- Avoiding your shortbread spreading or cracks: This recipe was tested several times and there are a few essentials to avoid cracks and spreading. Firstly, don’t whip on medium or higher speed, low is better, even though that means a longer whipping time. The reason is to help keep the butter at room temperature as the warmer it gets the more it spreads. Secondly, shaping can take some time, which means more handling and warming up the dough. If you take more than 10 minutes to shape and cut the dough, it’s recommended to chill for even 5 minutes to firm up a little as the butter needs to be room temperature, not softened.
- Add flavorings: Add vanilla, lemon zest, almond extract, or even lavender for flavored shortbread variations.
- Poking holes: Also called docking, this can help prevent bubbling in the shortbread, however, several tests were completed and found no difference between docked or plain shortbread without holes.
- Best stored: In an airtight container for up to 2 weeks. Its flavor deepens over time, making it perfect for gifting.
Nutrition
Subscribe to receive a free weekly newsletter using seasonal produce as well as exclusive content!
Made it and loved it?
If you have made this recipe, it would mean so much to leave a review below to help more people find this.


Leave a Reply