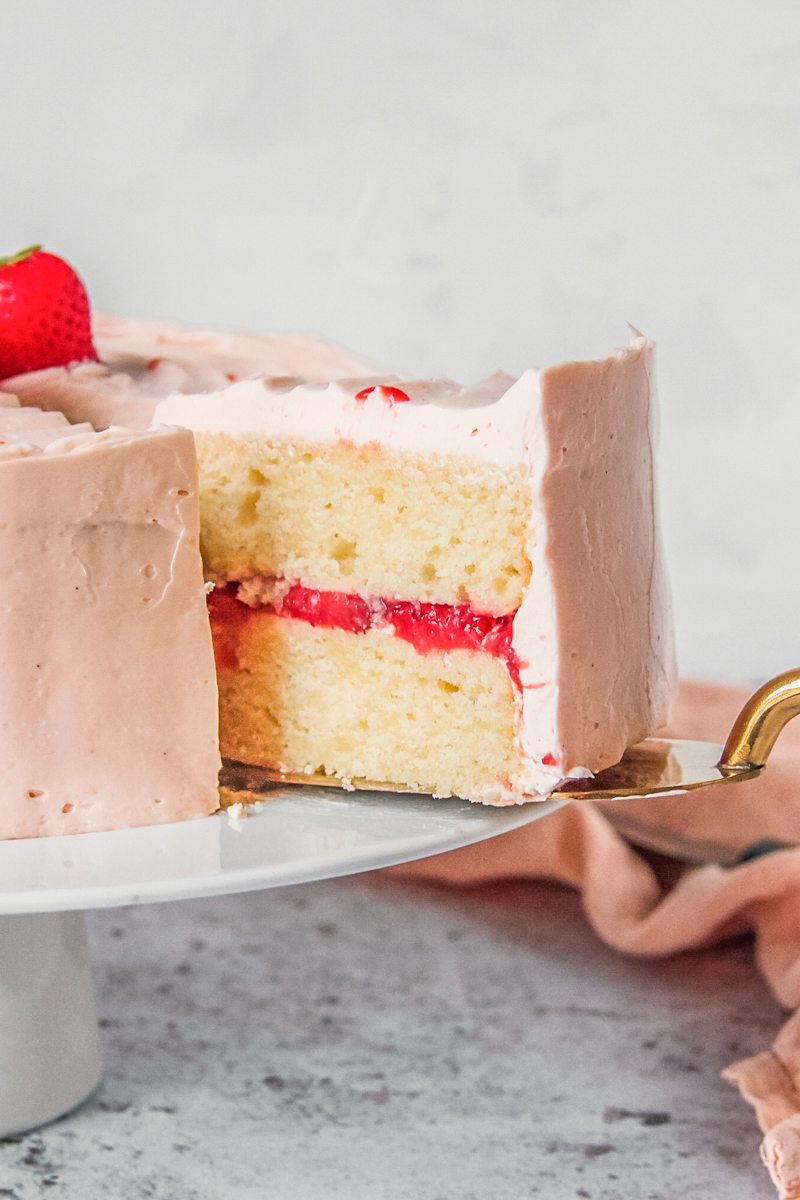
This Vanilla Strawberry Cake recipe is a true showstopper that combines the intense vanilla flavor and vibrant intensity of roasted strawberries. What sets this vanilla cake apart is the addition of roasted strawberries. As you take a bite, you'll be greeted by scattered bursts of intense strawberry flavor.
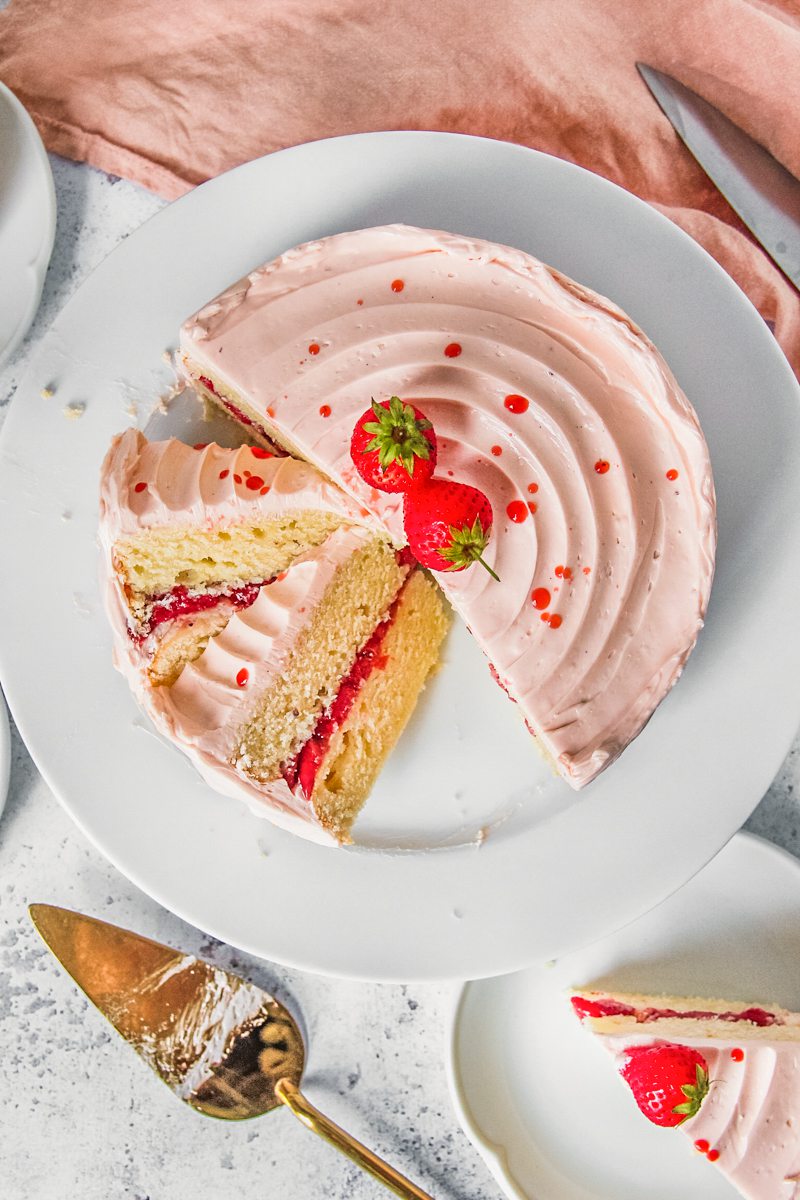
Table of Contents
Ingredients and substitutions for Vanilla Strawberry Cake
- Butter: Unsalted softened was used here as this is fresher than salted, however, you could absolutely substitute salted butter here.
- Sugar: As a result of using superfine or caster sugar, the nice fine granules dissolve into our cake and add sweetness without adding additional flavors. Icing or confectioners' sugar is best for the top of the cake.
- Vanilla extract: Pure vanilla extract helps give our cake it's signature and depth of flavor here. You could also add fresh vanilla bean seeds into the batter to really enhance the flavor.
- Eggs: As well as adding structure to the cake, the room temperature eggs will bind everything together, so are essential.
- Plain flour: Plain or all purpose works best here for a nice texture to the cake. You could replace with cake flour for an even more tender crumb, if you prefer.
- Milk: Full fat milk helps add moisture to our cake, but can be substituted with skim or non dairy milk.
- Buttermilk: Helps to add acidity to balance the flavors in the cake. It is recommended to use proper buttermilk here as this has the appropriate cultures needed for the recipe.
- Strawberries: Fresh strawberries were used here because they are plenty in season, however, because you roast them, substituting with frozen would work fine. It is recommended to roast longer to get the full effect of drawing out the moisture in the berries.
See recipe card for quantities.
How to make Vanilla Strawberry Cake:
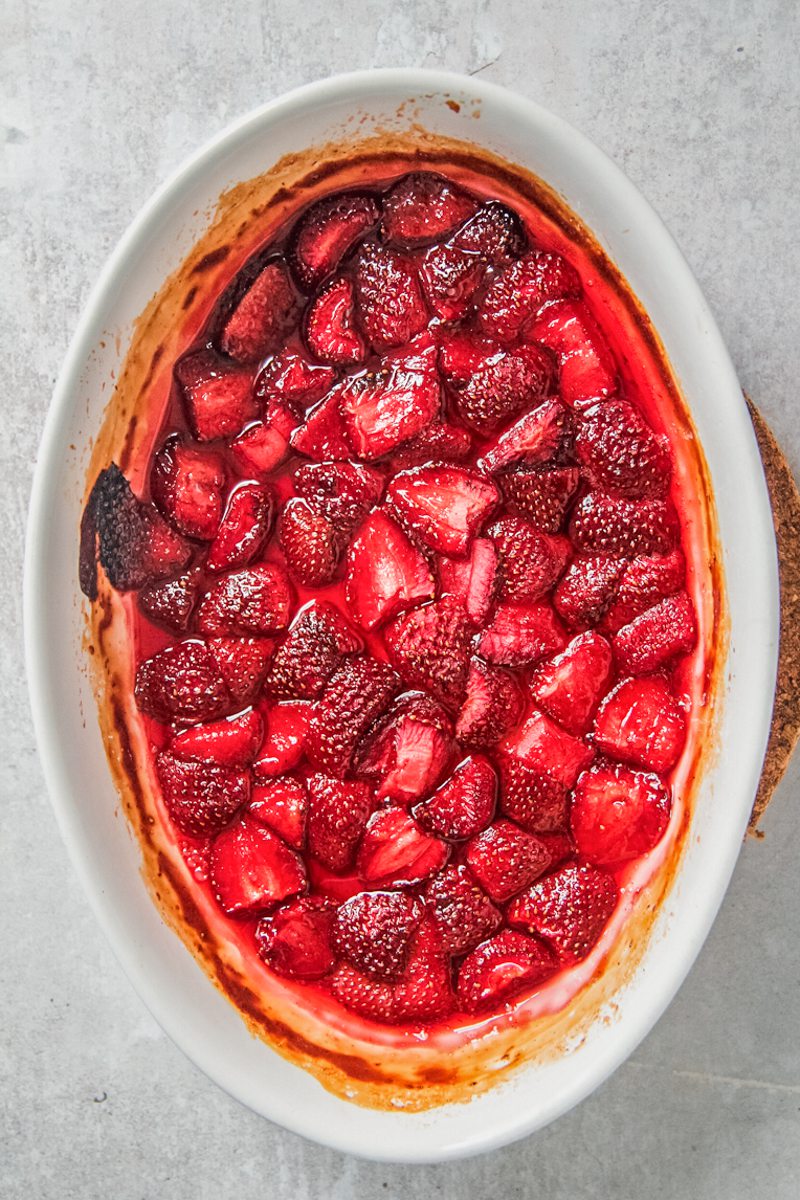
Step 1: Roast: The strawberries, sugar and vanilla seeds into a baking dish and bake. Then set aside to cool completely.

Step 2: Cake base: Stir the sugar, flour and baking powder in a bowl.

Step 3: Add: The butter and beat on low until the mixture has a wet sand appearance.

Step 4: Wet ingredients: Add the milk, buttermilk, vanilla extract and Greek yogurt into a small jug and stir together until smooth and pour into the dry ingredients and combine on low.

Step 5: Eggs: Scrape down the sides of the bowl and add in one egg and beat on low until it is fully combined. Repeat with the second egg.

Step 6: Pour: Evenly into the cake tins and spread out evenly.
Step 7: Bake: Until golden and a skewer comes out clean. Set aside to cool completely.
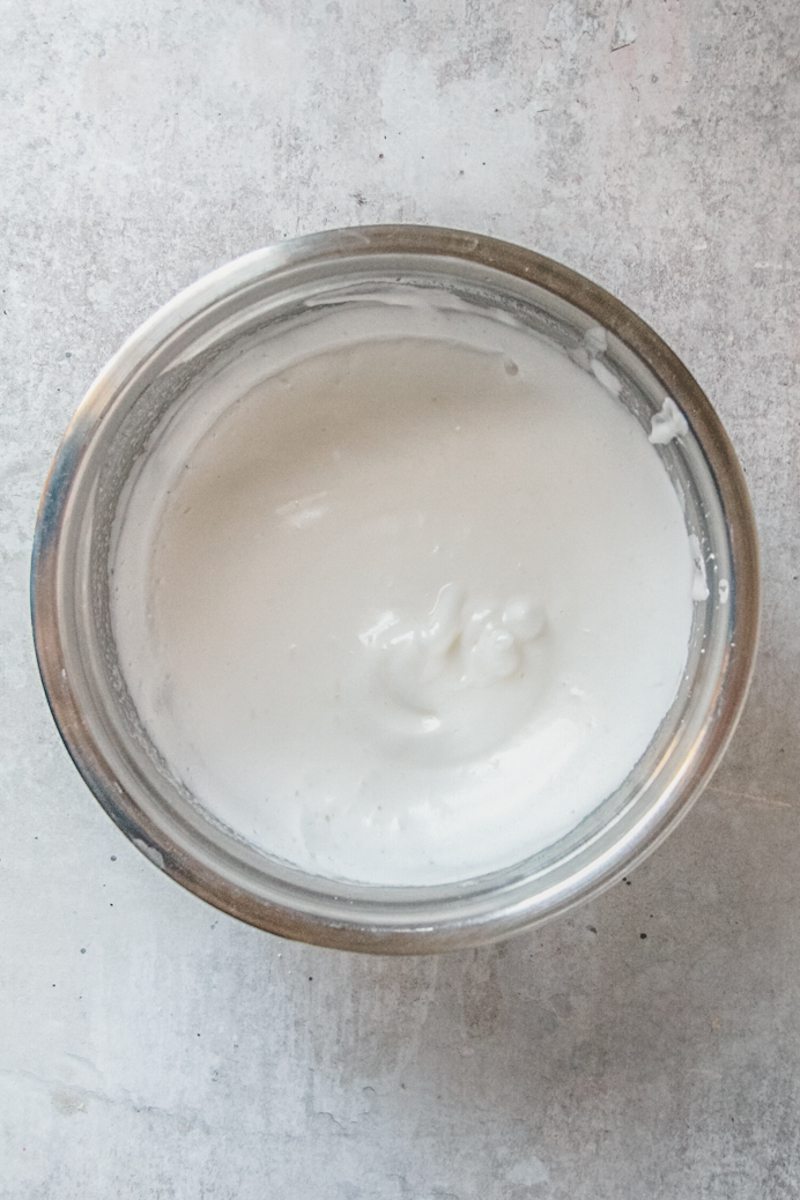
Step 8: Whip: The egg whites and sugar until soft peaks form. Continue beating on low until it’s reached temperature. Remove and whip at room temperature until stiff.
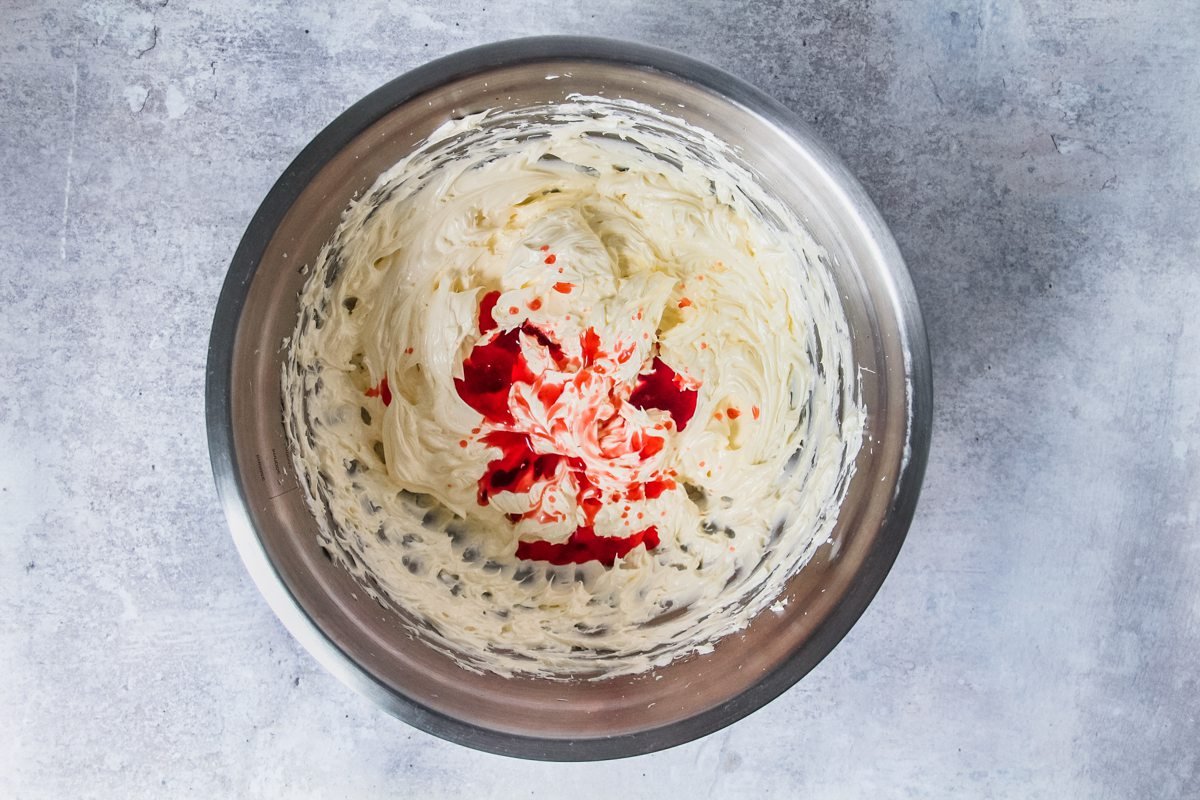
Step 9: Whip: All the cubed butter until the buttercream is smooth before adding in the vanilla extract, salt and roasted strawberry syrup.
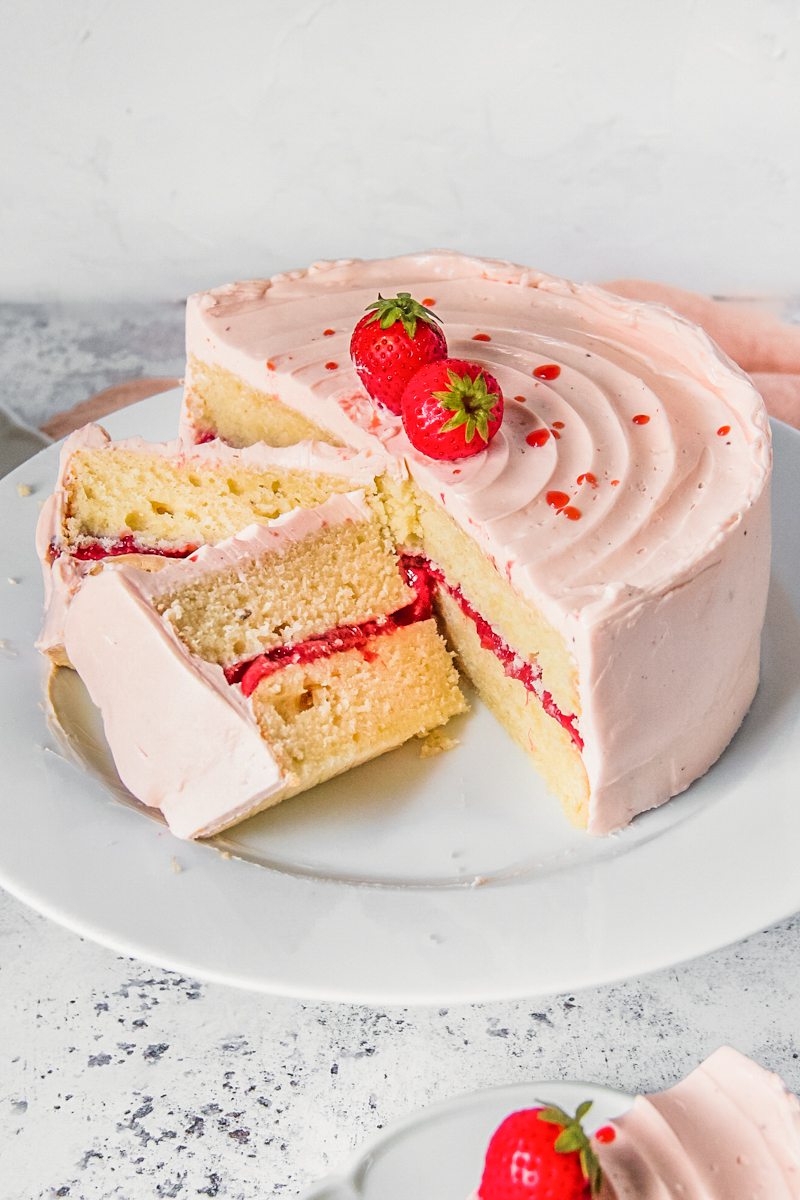
Step 10: Assemble your cake: Place your base cake layer onto a plate and evenly spread a portion of the buttercream on top and smooth out with a rim of buttercream. Fill with the roasted strawberries before adding the second layer and decorating to your preferences.
Step 11: Serve up and slice: Dig in!
FAQ’s for the best Vanilla Strawberry Cake
Roasted strawberries can be used in a multitude of dishes, from an accompaniment to your breakfast bowl alongside yogurt and granola to being served here in the center of a cake. Ultimately the length of time you roast your strawberries depends on your use for it. In the case of using in the center of a cake; we want most of the moisture to be baked out of it and the flavor to be intensified. You could roast your strawberries for 1 hour and if you feel they’re sufficient then take them out and they’ll still be perfect for the center of your cake. This is where you get to decide what suits you and your flavor preferences best. They can be made ahead and kept in the fridge up to 5 days before you make your cake.
While fresh strawberries were used, you can replace in equal measure with frozen strawberries. Thaw the frozen strawberries before roasting.
A Vanilla Strawberry Cake can last for about 3-4 days when stored properly. It's best to keep the cake refrigerated in an airtight container to maintain its freshness. However, please note that the quality of the cake may slightly decline over time due to the moisture content of the roasted strawberries.
Yes, you can make this Vanilla Strawberry Cake ahead of time. You can bake the cake layers in advance and store them in the freezer until needed. Thaw the cake layers before assembling and decorating the cake. The roasted strawberry filling can also be prepared up to 1 week ahead of time and refrigerated. Just make sure to assemble the cake and add the fresh strawberry decorations within 1 day to serving time for the best presentation.
More layer cakes you'll love
Vanilla Strawberry Cake
Ingredients
Roasted Strawberries
- 300 grams / 10.6 ounces strawberries roughly chopped
- 25 grams / 2 tablespoon superfine/caster sugar
- 1 teaspoon vanilla seeds
Vanilla Cake
- 200 grams / 1 cup superfine/caster sugar
- 282 grams / 1 ¾ cups plain flour
- 8 grams / 2 teaspoons baking powder
- ¼ teaspoon sea salt
- 150 grams / 5.3 ounces butter softened
- 60 grams / ¼ cup whole milk
- 123 grams / ½ cup buttermilk
- 2 teaspoons vanilla extract
- 110 grams / 2 large eggs room temperature
Swiss Meringue Buttercream
- 100 grams / 3.5 ounces egg whites
- 200 grams / 1 cup superfine/caster sugar
- 1 teaspoon vanilla extract
- 225 grams / 7.93 ounces butter room temperature
- ¼ teaspoon sea or kosher salt
- 50 grams roasted strawberry syrup
Instructions
Roasted strawberries
- Preheat your oven to 160C/320F and toss the strawberries, sugar and vanilla seeds into a baking dish.
- Stir together and ensure the strawberries are in a nice evenly layer in your baking dish (we don’t them to be too piled together).
- Place in the oven and bake for 1 hour, removing and stirring every 20 minutes. (See notes for more details).
- Remove and set aside to cool completely.
Vanilla cake
- Increase the oven temperature to 180C/350F and line two cake tins with greaseproof paper.
- Place the sugar, flour, baking powder and salt into a bowl.
- Add the butter and beat on low until the mixture has a wet sand appearance and no butter portions remain that are larger than a pea (the smaller the better), approximately 2 minutes.
- Pour the milk, buttermilk and vanilla extract into a small jug and stir together until smooth, pour into the dry ingredients and combine on low until no dry portions remain in the bowl.
- Scrape down the sides of the bowl and add in one egg and beat on low until it is fully combined, approximately 40 seconds.
- Repeat with the remaining egg and beat until combined.
- Pour evenly into the cake tins and spread out evenly.
- Place in the oven until golden, approximately 20 minutes or until a skewer comes out clean.
- Remove and allow to cool in the tin for 5 minutes before turning onto a cooling rack.
- Set aside to cool completely.
Swiss meringue buttercream
- For the buttercream, place a small saucepan on low heat with enough water not to touch the base of a heatproof bowl.
- Place the egg whites and sugar into the bowl and put over the simmering water.
- Beat on low until your egg whites reach 73C/165F (if you don’t have a thermometer, the best test is to put a clean finger into the egg whites and you feel no sugar granules between your finger or can’t keep your finger in the mixture for more than 3 seconds).
- Remove the egg whites from the heat and allow to rest for 5 minutes.
- Beat on medium speed with a whisk attachment until stiff and the bowl is tepid to the touch.
- Toss in all the cubed butter and whisk on the lowest setting to incorporate, approximately 3 minutes.
- Increase the speed to medium and beat until your buttercream is smooth, approximately 10 minutes.
- Add in the vanilla extract, salt and strawberry syrup and beat for a further 2 minutes until smooth.
Assembly
- To assemble your cake, place your base cake layer onto a plate and evenly spread a portion of the buttercream on top and smooth out to a ¼ inch thickness with a rim of buttercream.
- Spoon the roasted strawberries evenly into the center of the cake.
- Lay the second layer on top and press down lightly to ensure the layers are evenly stacked.
- Place approximately 6 tablespoons of the buttercream on the cake and smooth out over the entire surface to form your crumb coating.
- Smooth out and ensure you do not mix the crumb coating portion into the remaining buttercream.
- Place the cake into the fridge to set for 30 minutes or set at a cool room temperature for 1 hour.
- Finish with the remaining Swiss meringue buttercream, using offset palette knife and bench scraper for a smooth finish.
- Serve up and slice.
- Dig in!
Notes
- Strawberries: Fresh strawberries were used here because they are plenty in season, however, because you roast them, substituting with frozen would work fine. It is recommended to roast longer to get the full effect of drawing out the moisture in the berries.
- Buttermilk: Helps to add acidity to balance the flavors in the cake. It is recommended to use proper buttermilk here as this has the appropriate cultures needed for the recipe.
- Vanilla extract: Pure vanilla extract helps give our cake it's signature and depth of flavor here. You could also add fresh vanilla bean seeds into the batter to really enhance the flavor.
- How long should the strawberries be roasted? Roasted strawberries can be used in a multitude of dishes, from an accompaniment to your breakfast bowl alongside yogurt and granola to being served here in the center of a cake. Ultimately the length of time you roast your strawberries depends on your use for it. In the case of using in the center of a cake; we want most of the moisture to be baked out of it and the flavor to be intensified. You could roast your strawberries for 1 hour and if you feel they’re sufficient then take them out and they’ll still be perfect for the center of your cake. This is where you get to decide what suits you and your flavor preferences best. They can be made ahead and kept in the fridge up to 5 days before you make your cake.
- Cake tins: Two 18 centimeter or 7 inch cake tins were used here for a higher cake due to the batter not being a large recipe; the smaller your tin the higher the cakes will be. If your cake tin is any larger then 23 centimeters or 9 inches, your cakes will be much flatter than they appear here.
Nutrition
Subscribe to receive a free weekly newsletter using seasonal produce as well as exclusive content!
Made it and loved it?
If you have made this recipe, it would mean so much to leave a review below to help more people find this.


Leave a Reply