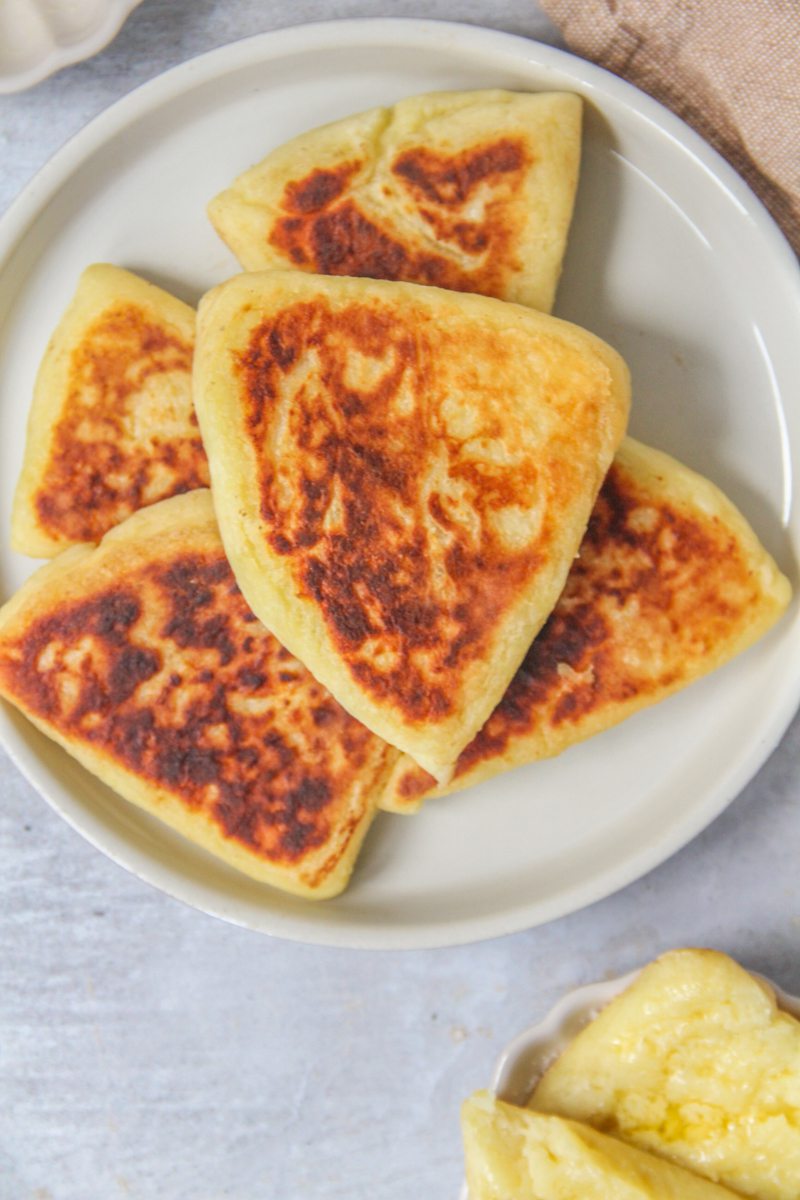
These Easy Buttermilk Biscuits are a crowd-pleasing recipe. Made with a handful of pantry staples, these fluffy biscuits have buttery layers for the best soft biscuits. Whether you're serving them for breakfast, brunch, or as a side dish, they are sure to impress.
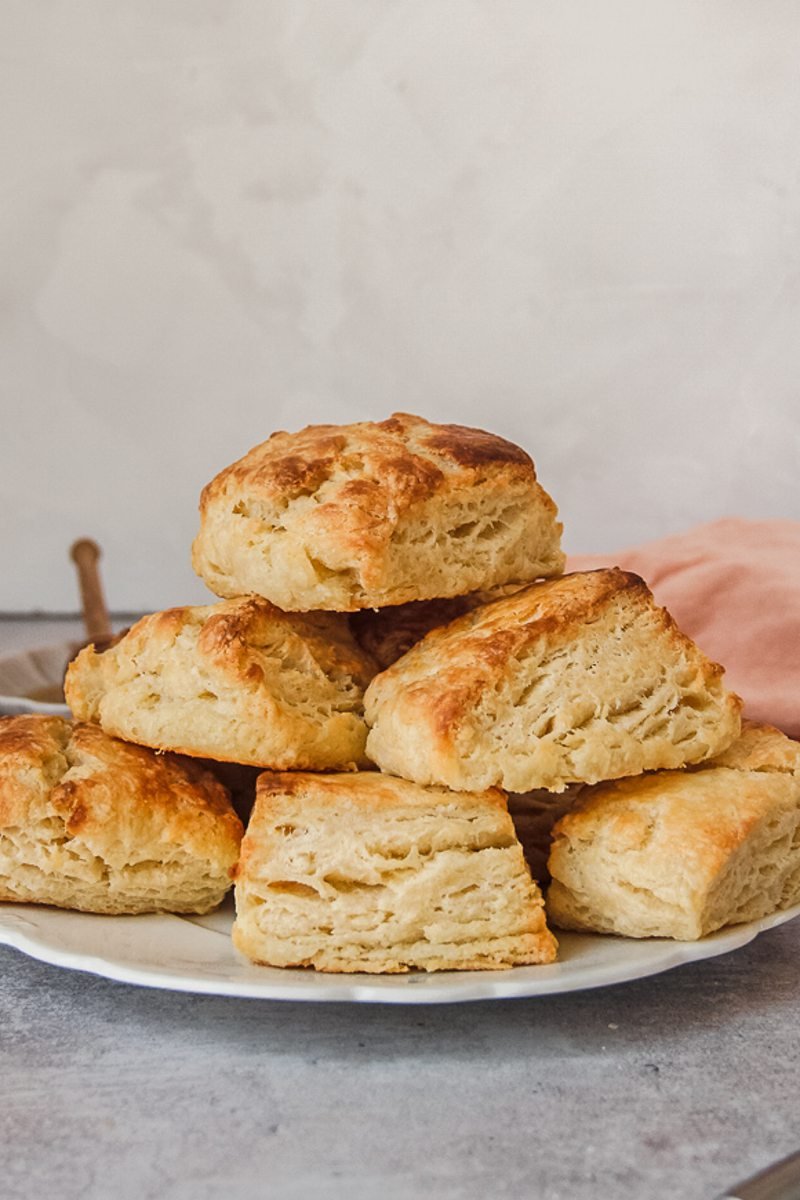
Table of Contents
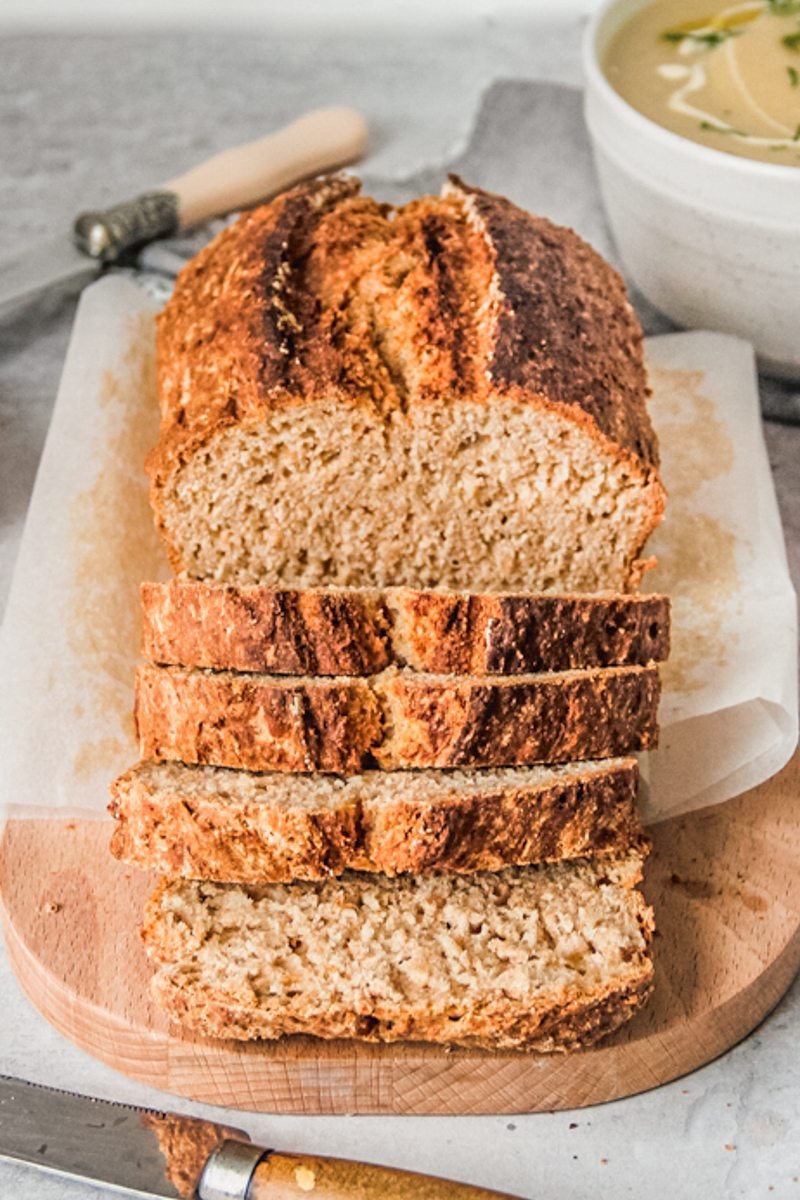
This buttermilk biscuit recipe is a must-try! Made with simple ingredients and a generous amount of butter, these biscuits is ideal to serve with homemade jam, drizzle of honey or even alongside a bowl of soup. This recipe comes from renowned Southern chef Edna Lewis. If you haven't heard of her, this article is a great place to start on who this pioneer in American home cooking and soul food was.
History of Easy Buttermilk Biscuits
Southern buttermilk biscuits have roots from early settlers in the American South. The recipe itself can be traced back to British and Scottish immigrants who brought their traditional baking techniques to the region.
Southern buttermilk biscuits have become deeply ingrained in Southern culture, representing comfort, hospitality, and tradition. They are a staple at family gatherings, Sunday brunches, and cherished community events.
This quick bread became popular due to how difficult and expensive yeast was in the early Nineteenth Century. The biscuit also kept it’s shape and made wiping up gravy much easier than with bread, making this pairing one that is still popular (see notes for a recipe to find traditional Southern Sawmill Gravy to top your own biscuits with).
They became a Southern dish thanks to the warmer climate that helped winter wheat grow in the summers which resulted in less protein making the flour perfect for cakes, cookies and quick breads like biscuits.

Ingredients and substitutions for Easy Buttermilk Biscuits
- Flour: Plain or all purpose flour works because biscuits, though being more a bread type dish, aren’t bread. We don’t want a firm crust or overly activated gluten which is easier to control with a plain flour that has less protein in it.
- Baking powder: The key to our biscuits rising is in the quantity of baking powder which doesn’t leave its flavor thanks to being offset with the acidity in that buttermilk.
- Buttermilk: Buttermilk is acidic which reacts with the baking powder and activates the baking soda in the biscuits as well giving our biscuits moisture to create a soft and flaky texture. It's best not to create your own buttermilk substitute here to ensure you get the best biscuits.
- Butter: Unsalted butter was used, however, you can replace in equal measure with salted. Ensure it is well chilled.
See recipe card for quantities.

How to make Easy Buttermilk Biscuits:

Step 1: Stir the dries: Toss the dry ingredients in a bowl and stir together before tossing in the cubed butter and cutting it until the mixture resembles coarse crumbs.

Step 2: But-ter-milk: Pour in the cold buttermilk and stir until the dough looks shaggy.
Step 3: Invert: Onto a work surface, cutting in half and layer and repeat.
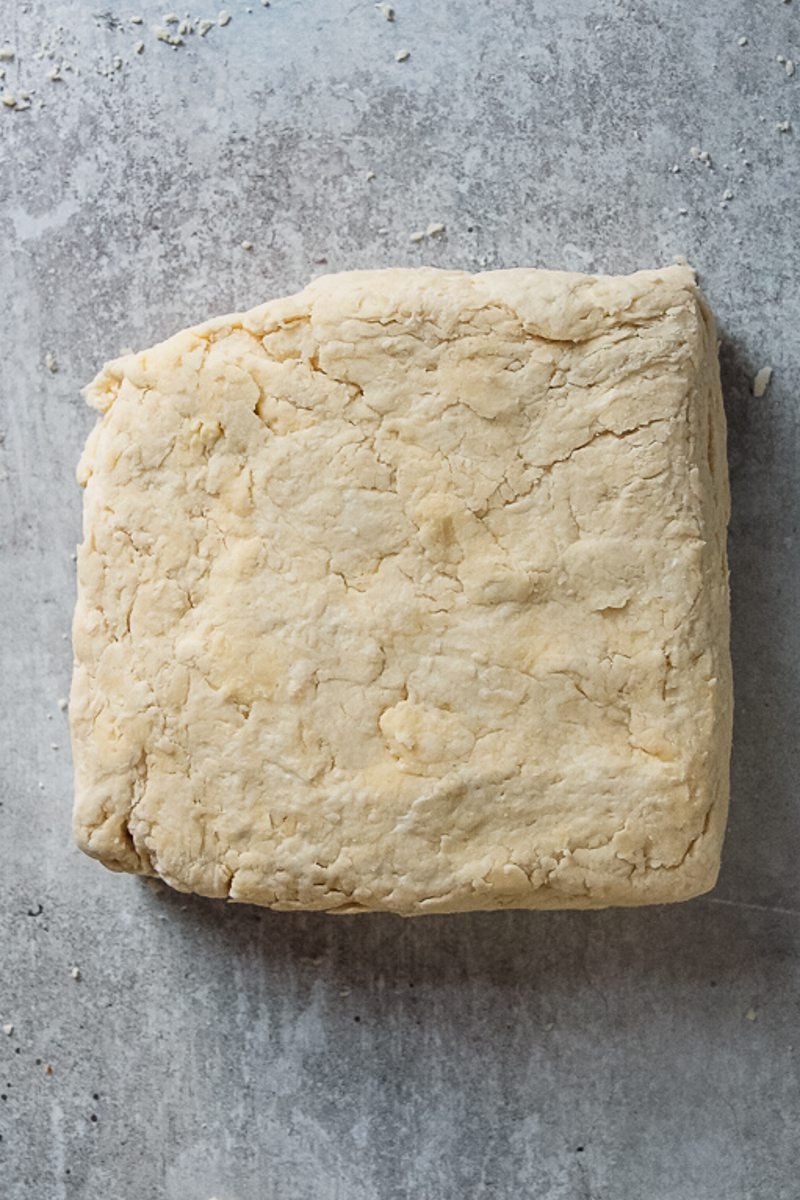
Step 4: Press and shape: Press the dough firmly together and shape the edges into a square.
Step 5: Roll roll roll your dough: Roll out your dough until it is 1 ½ inches thick.
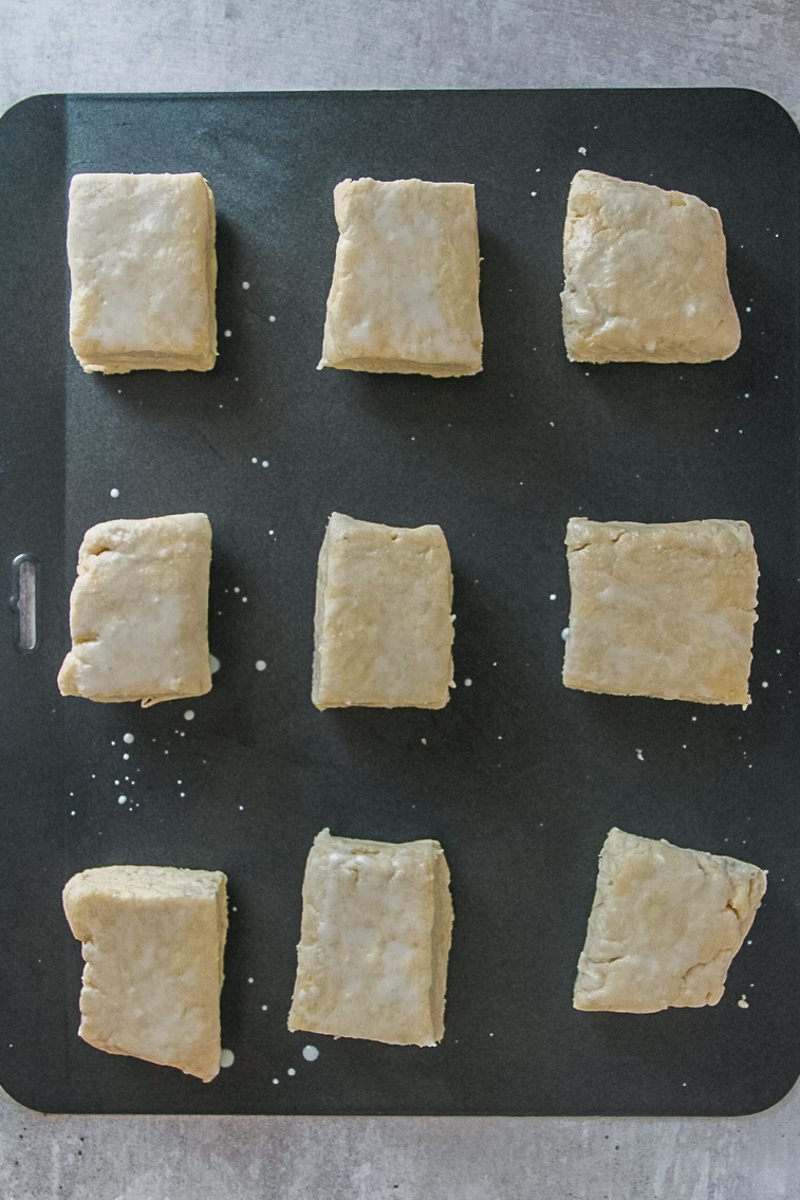
Step 6: Cut out: Cut into equal square biscuits and place onto your prepared baking sheet, brushing with milk.

Step 9: Bake: Bake until golden brown.
Step 10: Serve: Serve to your preference. Enjoy!
FAQ's for the best Easy Buttermilk Biscuits
Yes, you can freeze Easy Buttermilk Biscuits for later enjoyment. After baking and cooling, place the biscuits in an airtight container or freezer bag and freeze for up to 3 months. Thaw them at room temperature or reheat in the oven before serving.
Absolutely! You can adjust the size of the easy homemade biscuits to your preference. For smaller biscuits, use a smaller biscuit cutter or reduce the diameter of each biscuit. For larger biscuits, use a larger cutter or shape them accordingly. Just note that baking time may vary slightly depending on the size of the biscuits.
These easy homemade biscuits are perfectly complemented by a rich and creamy sausage gravy. Sawmill Gravy is a great and traditional place to start as this is often the way they are served in the South and this recipe is a great one to top your biscuits with.
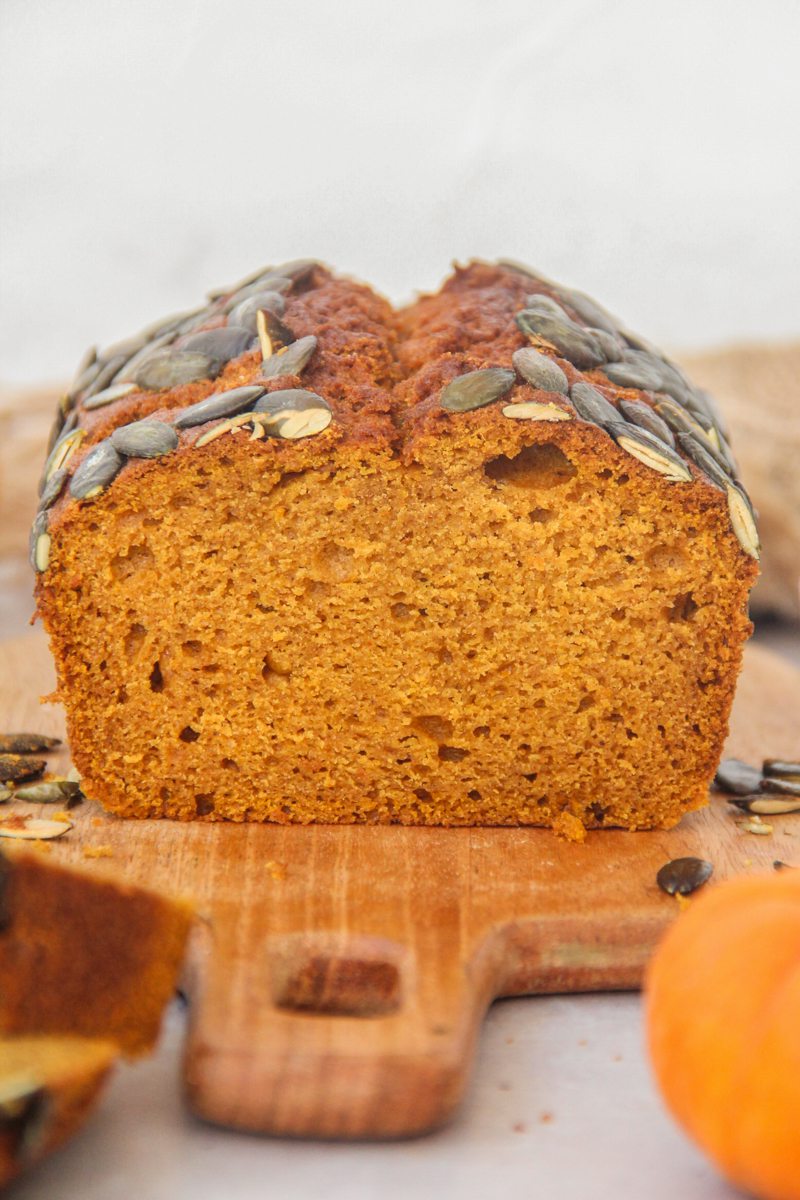
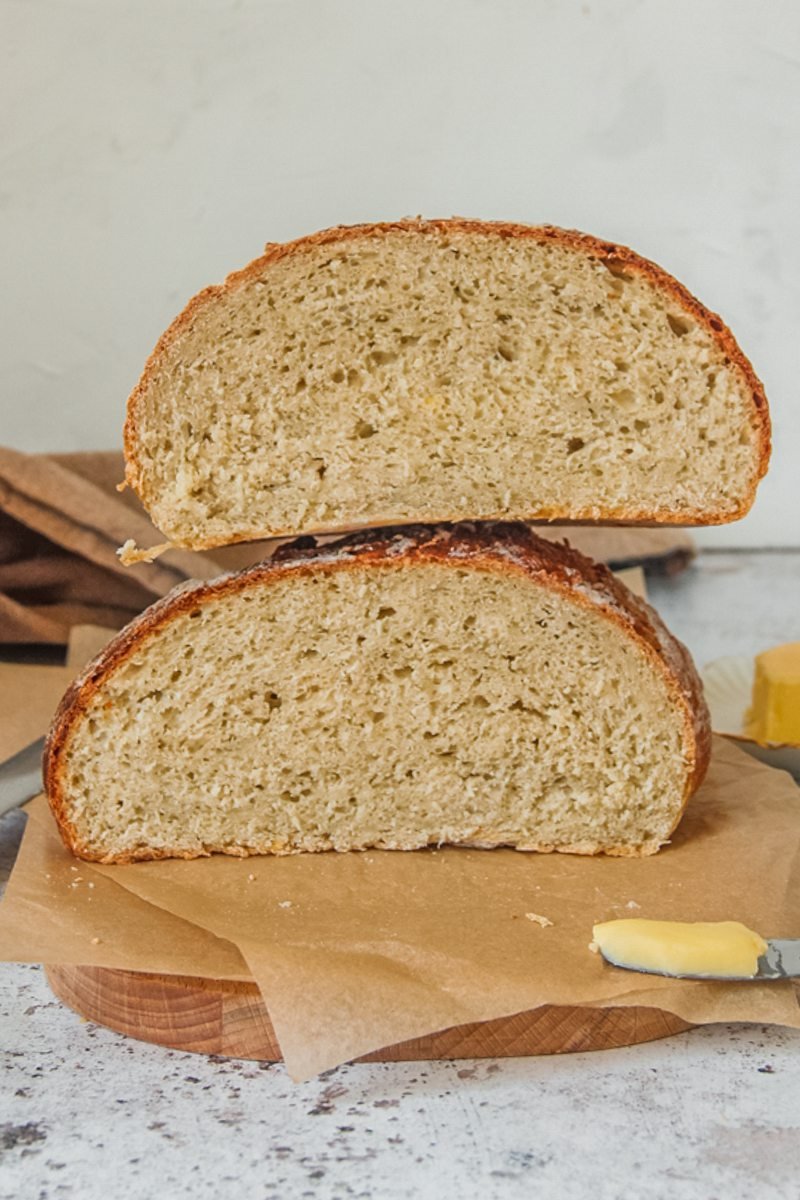
More quick breads you'll enjoy


Easy Buttermilk Biscuits
Ingredients
- 340 grams / 3 cups plain flour sifted
- 14 grams / 1 tablespoon baking powder
- 2 grams / ½ teaspoon baking soda
- 1 teaspoon sea or kosher salt
- 160 grams / 5.6 ounces butter chilled and cubed
- 250 grams / 1 cup + 2 tablespoons buttermilk
- 14 grams / 1 tablespoon milk
Instructions
- Preheat the oven to 230C/450F and line a baking tray with parchment paper.
- Place the sifted flour, baking powder, baking soda and salt into a bowl and stir to combine.
- Add in the cubed butter and begin cutting it into the flour with a pastry blender or knife until the pieces of butter are no larger than a pea and the mixture resembles course breadcrumbs.
- Make a well in the center and add in the buttermilk.
- Stir the buttermilk through the flour mixture until no dry patches remain and the dough looks shaggy.
- Press the shaggy dough into the edges of your bowl to form the dough and upturn onto a floured work surface.
- Press firmly together and shape into a rough square with your hands.
- Cut the dough in half with a bench scraper and lay one half on top of the other.
- Press down firmly and lightly flour the bench scraper, press the edges of the dough to shape into a square.
- Lightly flour a rolling pin and roll out into a rectangle that is 1 ½ inches thick.
- Cut into 9 equal squares and place biscuits onto your baking tray.
- Brush the milk over the top of the biscuits.
- Place in the oven and bake for 20 minutes or until really golden on top and the edges.
- Remove and allow to cool.
- Serve warm, with butter, peach jam or a drizzle of honey.
Video
Notes
- Buttermilk: Buttermilk is acidic which reacts with the baking powder and activates the baking soda in the biscuits as well giving our biscuits moisture to create a soft and flaky texture. It's best not to create your own buttermilk substitute here to ensure you get the best biscuits.
- The great lard/butter debate: Traditional recipes for biscuits call for lard which is not as frequent an ingredient found in homes nowadays. Additionally, some bakers who have made traditional biscuits with either ingredient cannot tell a large difference in the final result which means that if you have lard on hand, simply sub the butter in this recipe in equal measure.
- Keep your ingredients chilled: When preparing the butter, it’s best to measure out and cube into equal portions and return to the fridge until required, this helps in the final result of fluffy and layered biscuits.
- Serving your buttermilk biscuits with gravy: If you want to make more traditional biscuits and gravy, Sawmill Gravy is a great and traditional place to start as this is often the way they are served in the South and this recipe is a great one to top your biscuits with.
- Best served: Biscuits are best served the day they are made, but will keep covered for up to 3 days, however, will be better served toasted at this time.
Nutrition
Subscribe to receive a free weekly newsletter using seasonal produce as well as exclusive content!
Made it and loved it?
If you have made this recipe, it would mean so much to leave a review below to help more people find this.

Nicole Spooner
I made this recipe and the biscuits turn out so goood!!!! Cutting the butter took lots of patience and was at times frustrating but doing correctly made all the difference in the end. I served them with strawberries and homemade whipped cream for a dessert.
Sylvie Taylor
Hey Nicole,
I'm so glad you made the effort for these tasty biscuits and the way you served them up sounds delightful!! Thanks so much for leaving a review!